A few months ago, we started a project that involves scanning of old slides taken by families across the U.S. (Stay tuned for more about the project!)
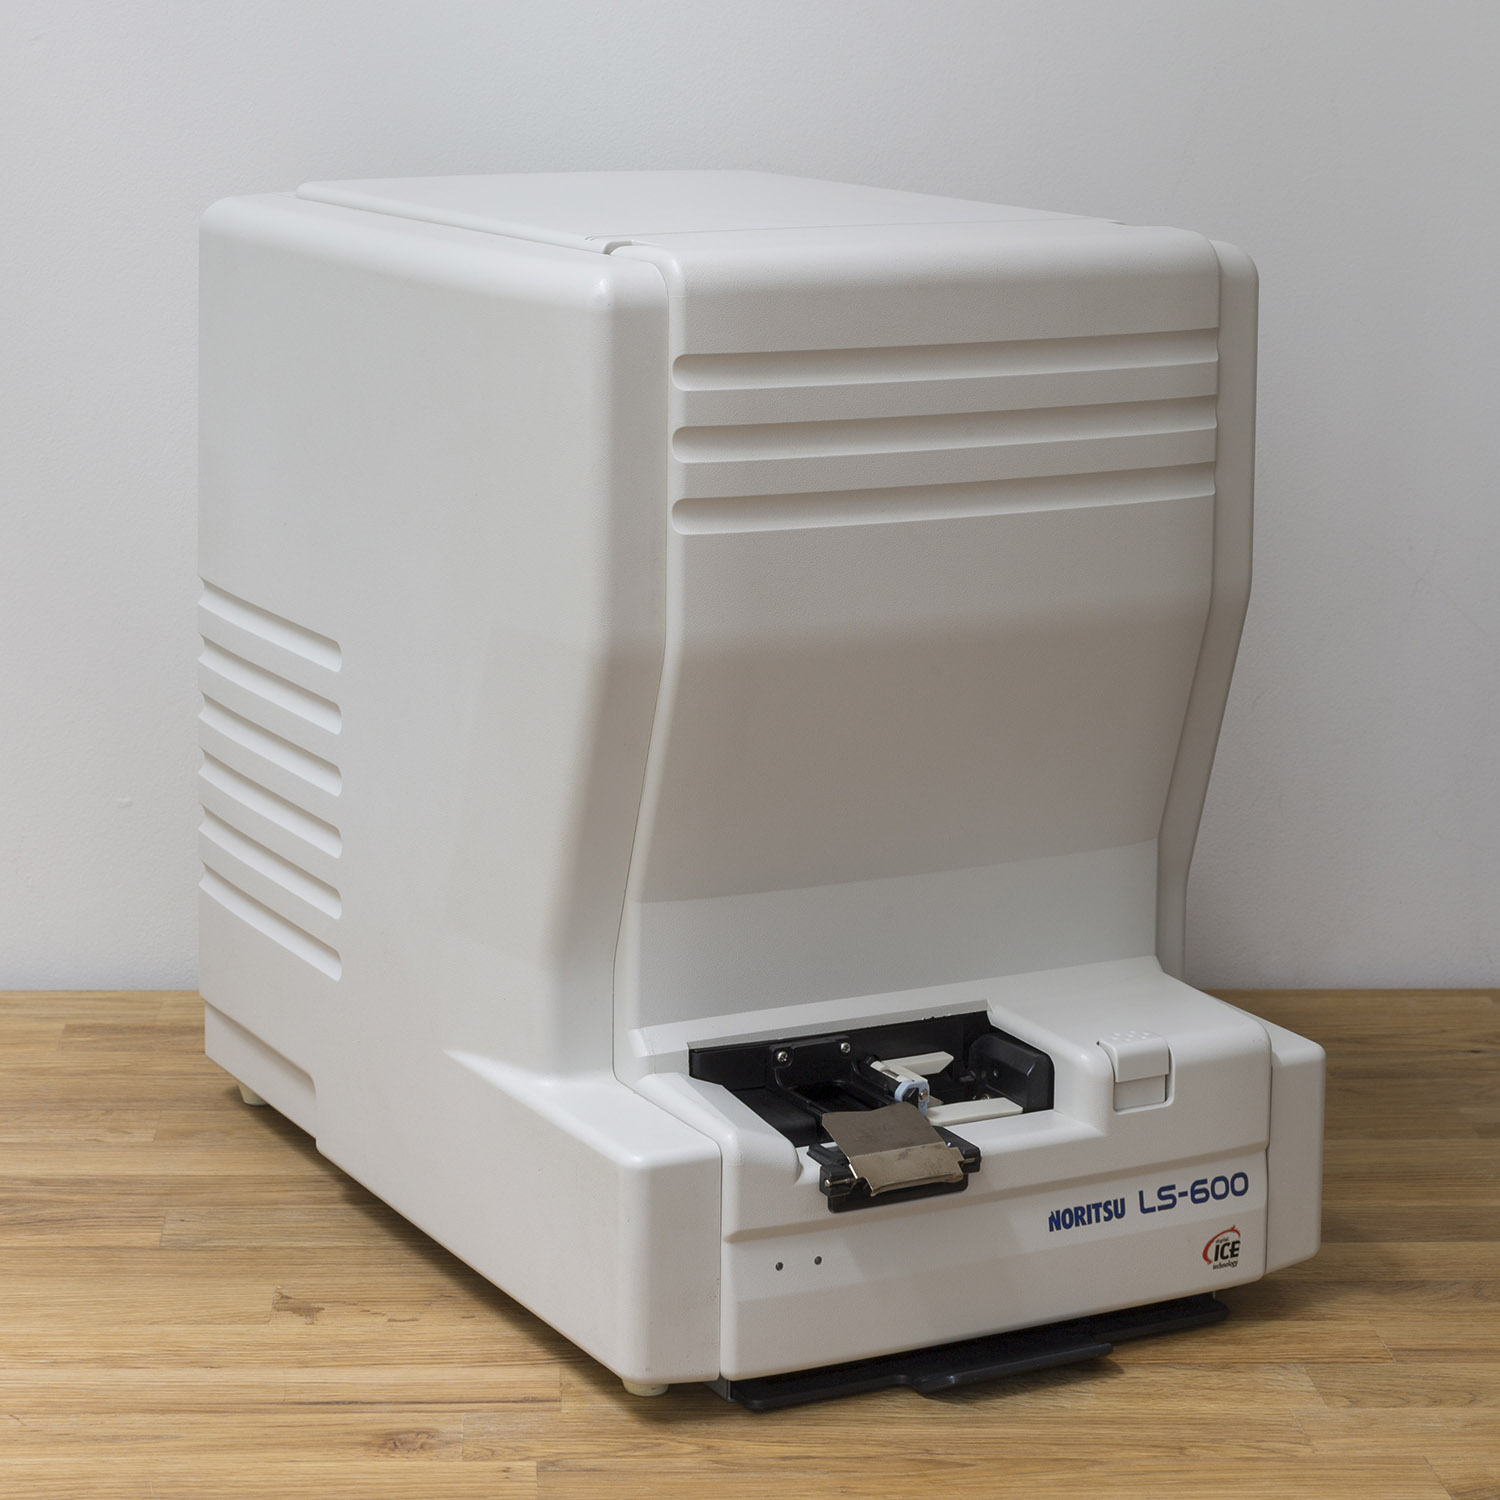
The slides we’ve been scanning are all mounted, and therefore they cannot be run through a typical scanner, such as the Noritsu LS-600. So, we devised a system for scanning our slides with a DSLR and macro lens.
The key question was: would we get the same quality of output? Could we use this method for negative film too? We love the Noritsu LS-600, so the bar was high. Here are the results of our comparison.
Setup
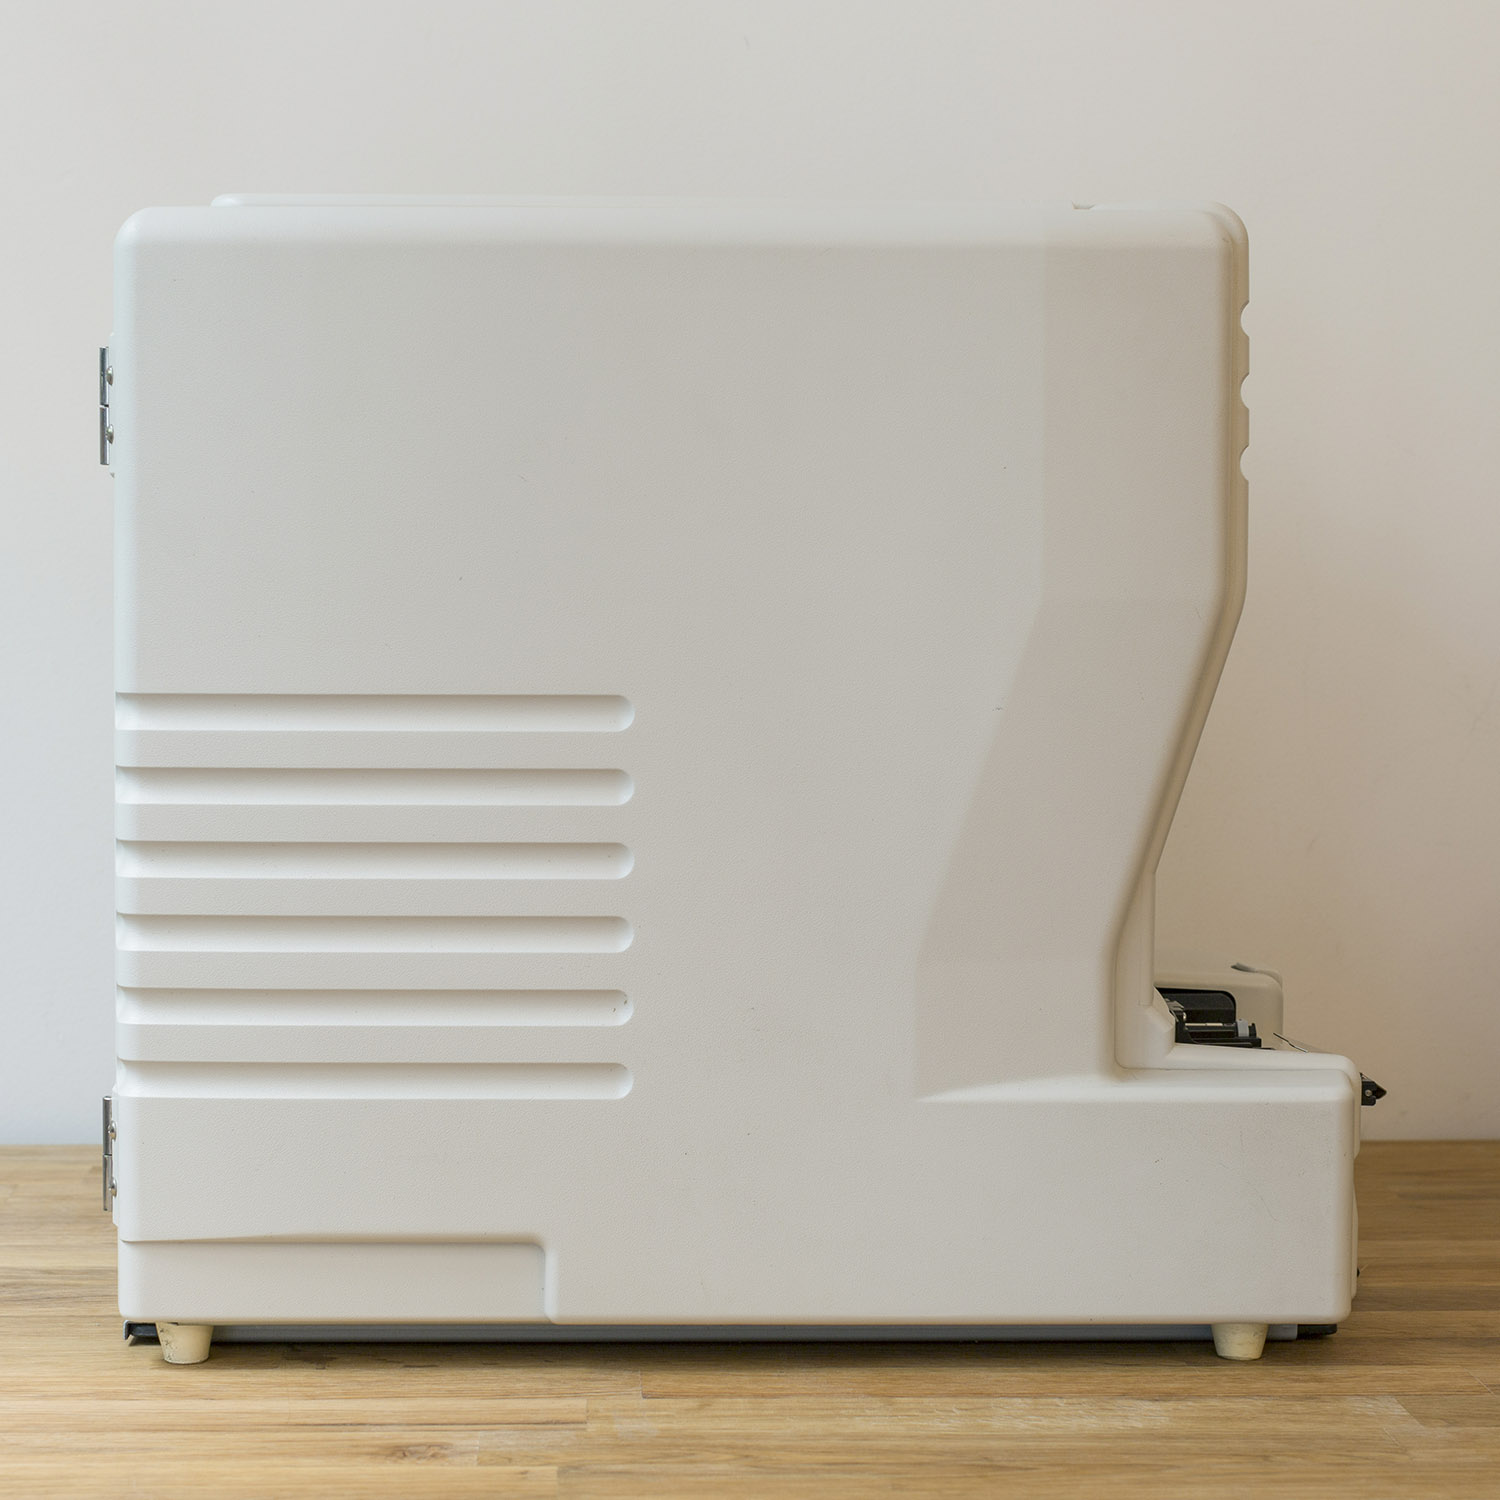
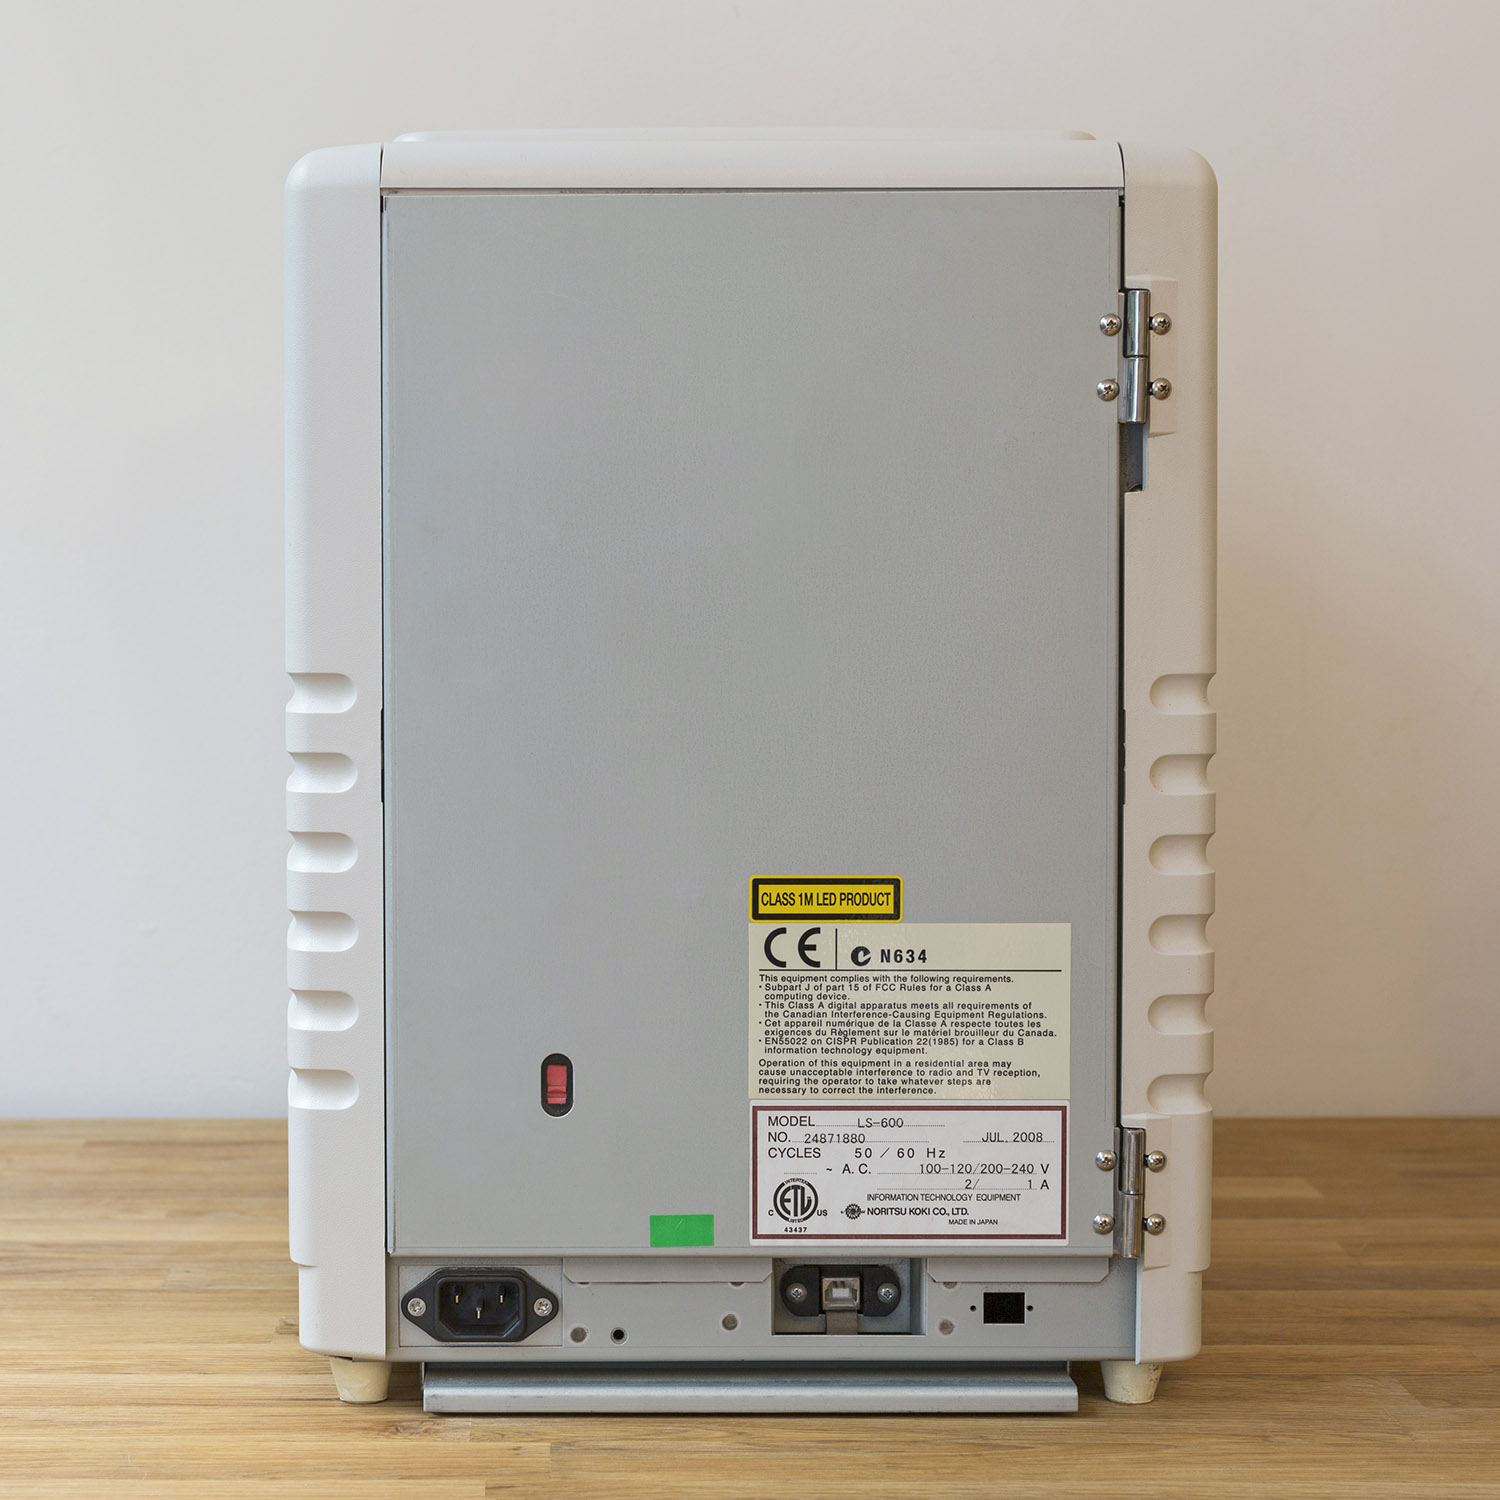
Noritsu LS-600
Setting up the Noritsu LS-600 is pretty straightforward. You simply connect the scanner with a USB to a computer equipped with Windows, the scanner’s drivers, and a TWAIN compatible capture software, such as XnView (which is what we use). For more details, see our deep-dive review.
 |
 |
 |
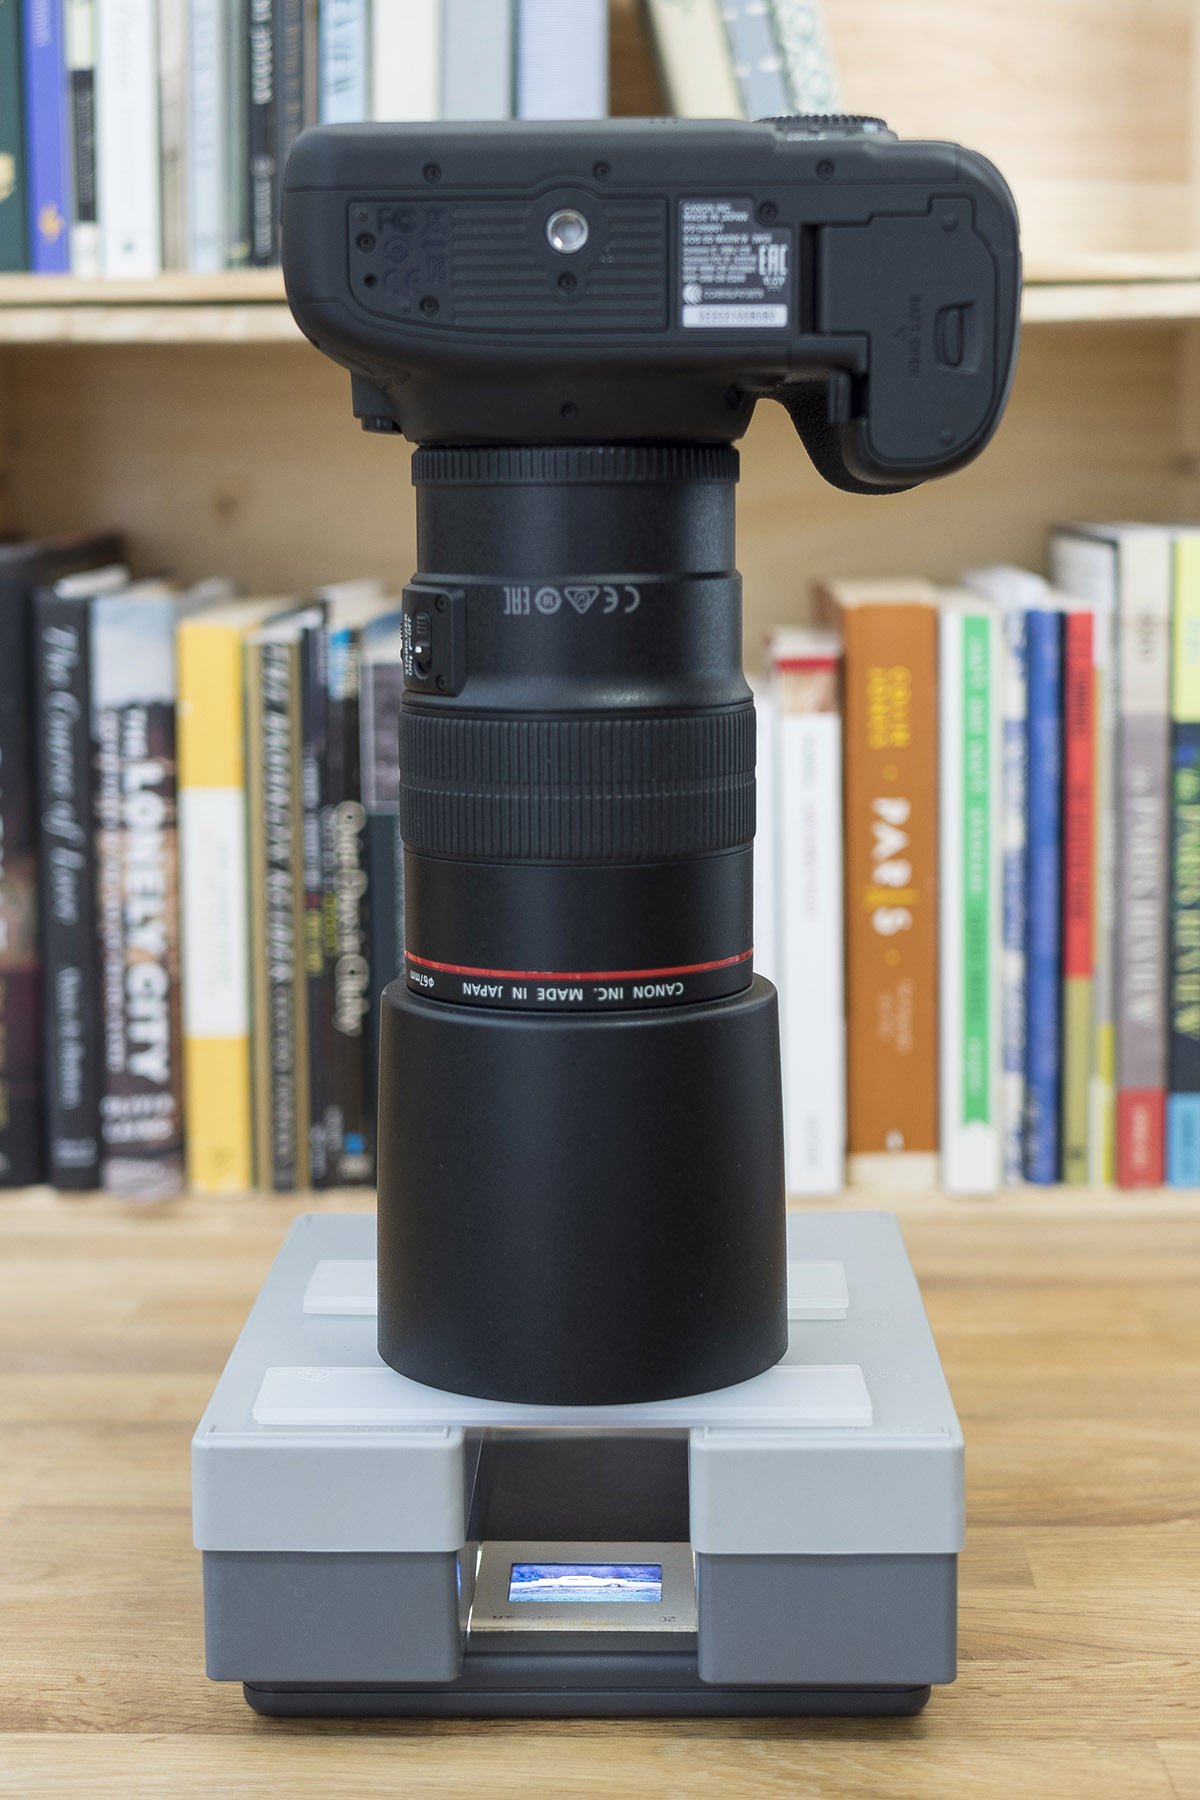
DSLR Method: Canon 5D Mark IV
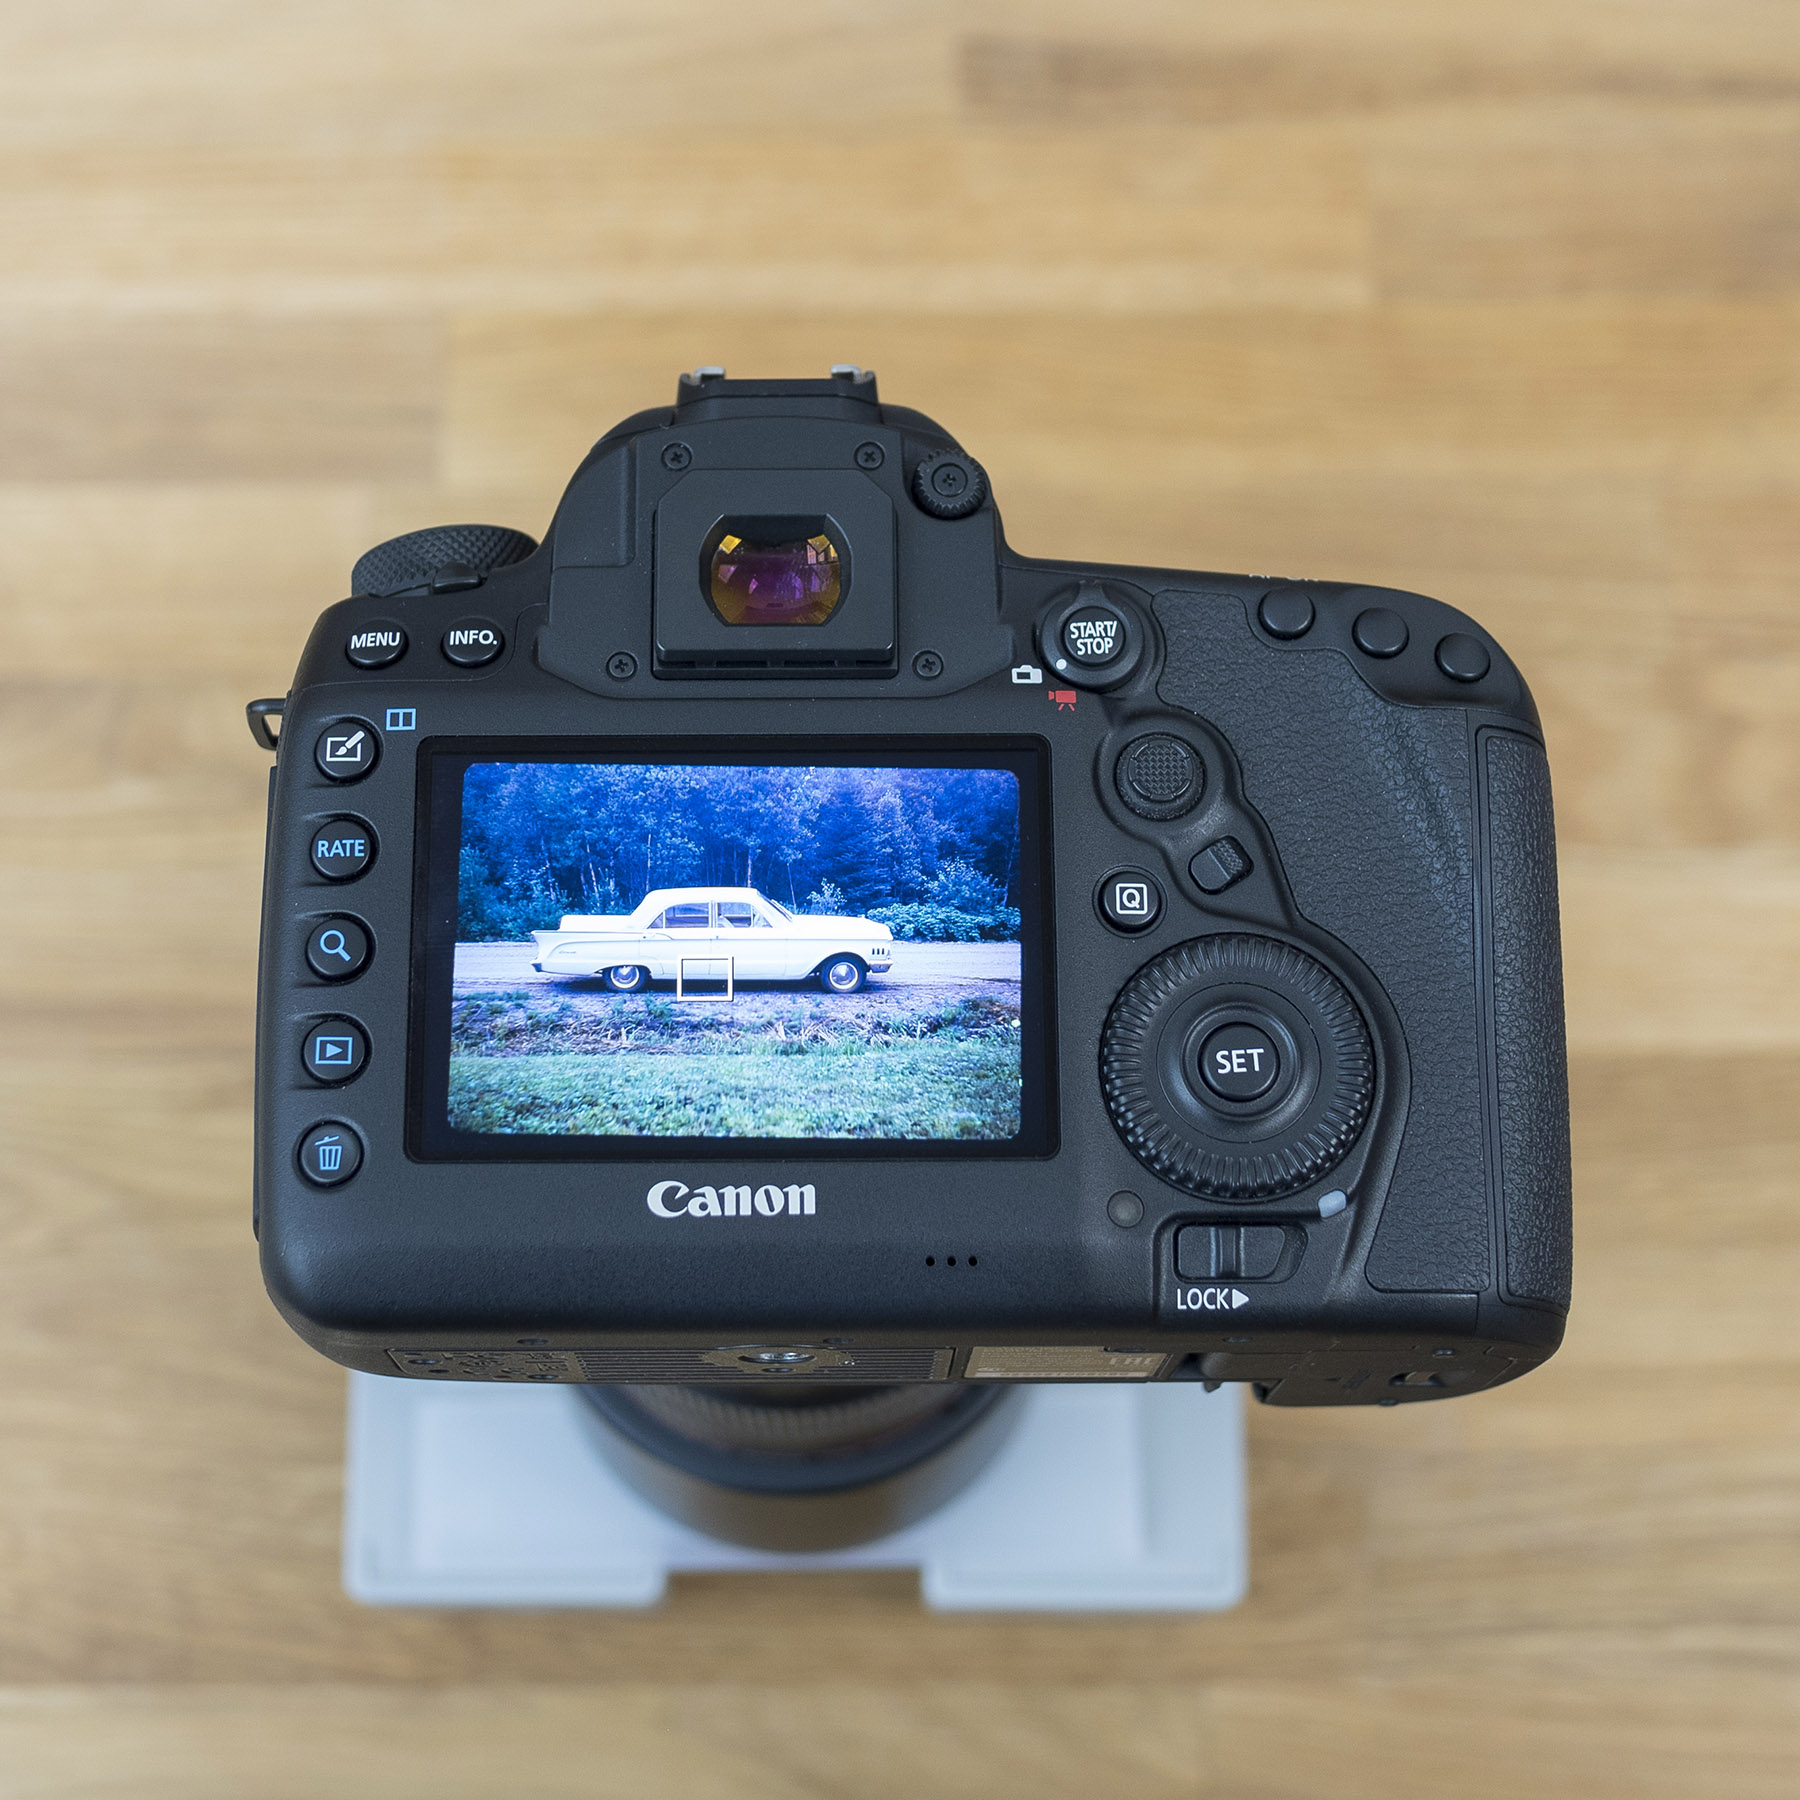
Setting up a DSLR/macro lens system requires a bit more creativity. The concept is simple: take a photo of a negative or slide film into a light source. The practical set up is a bit more complex: stabilize your camera at the exact right distance from the negative or slight film. Below is a photo of the system we developed using a Canon 5D Mark IV.
 |
 |
 |
General Specifications
Here are the technical details of both setups:
| Setup | Canon 5D Mark IV + 100mm f2.8L Macro |
Noritsu LS-600 |
| Manufacturer | Canon | Noritsu |
| Model | Body: Canon 5D Mark IV Lens: 100mm f2.8L Macro |
LS-600 |
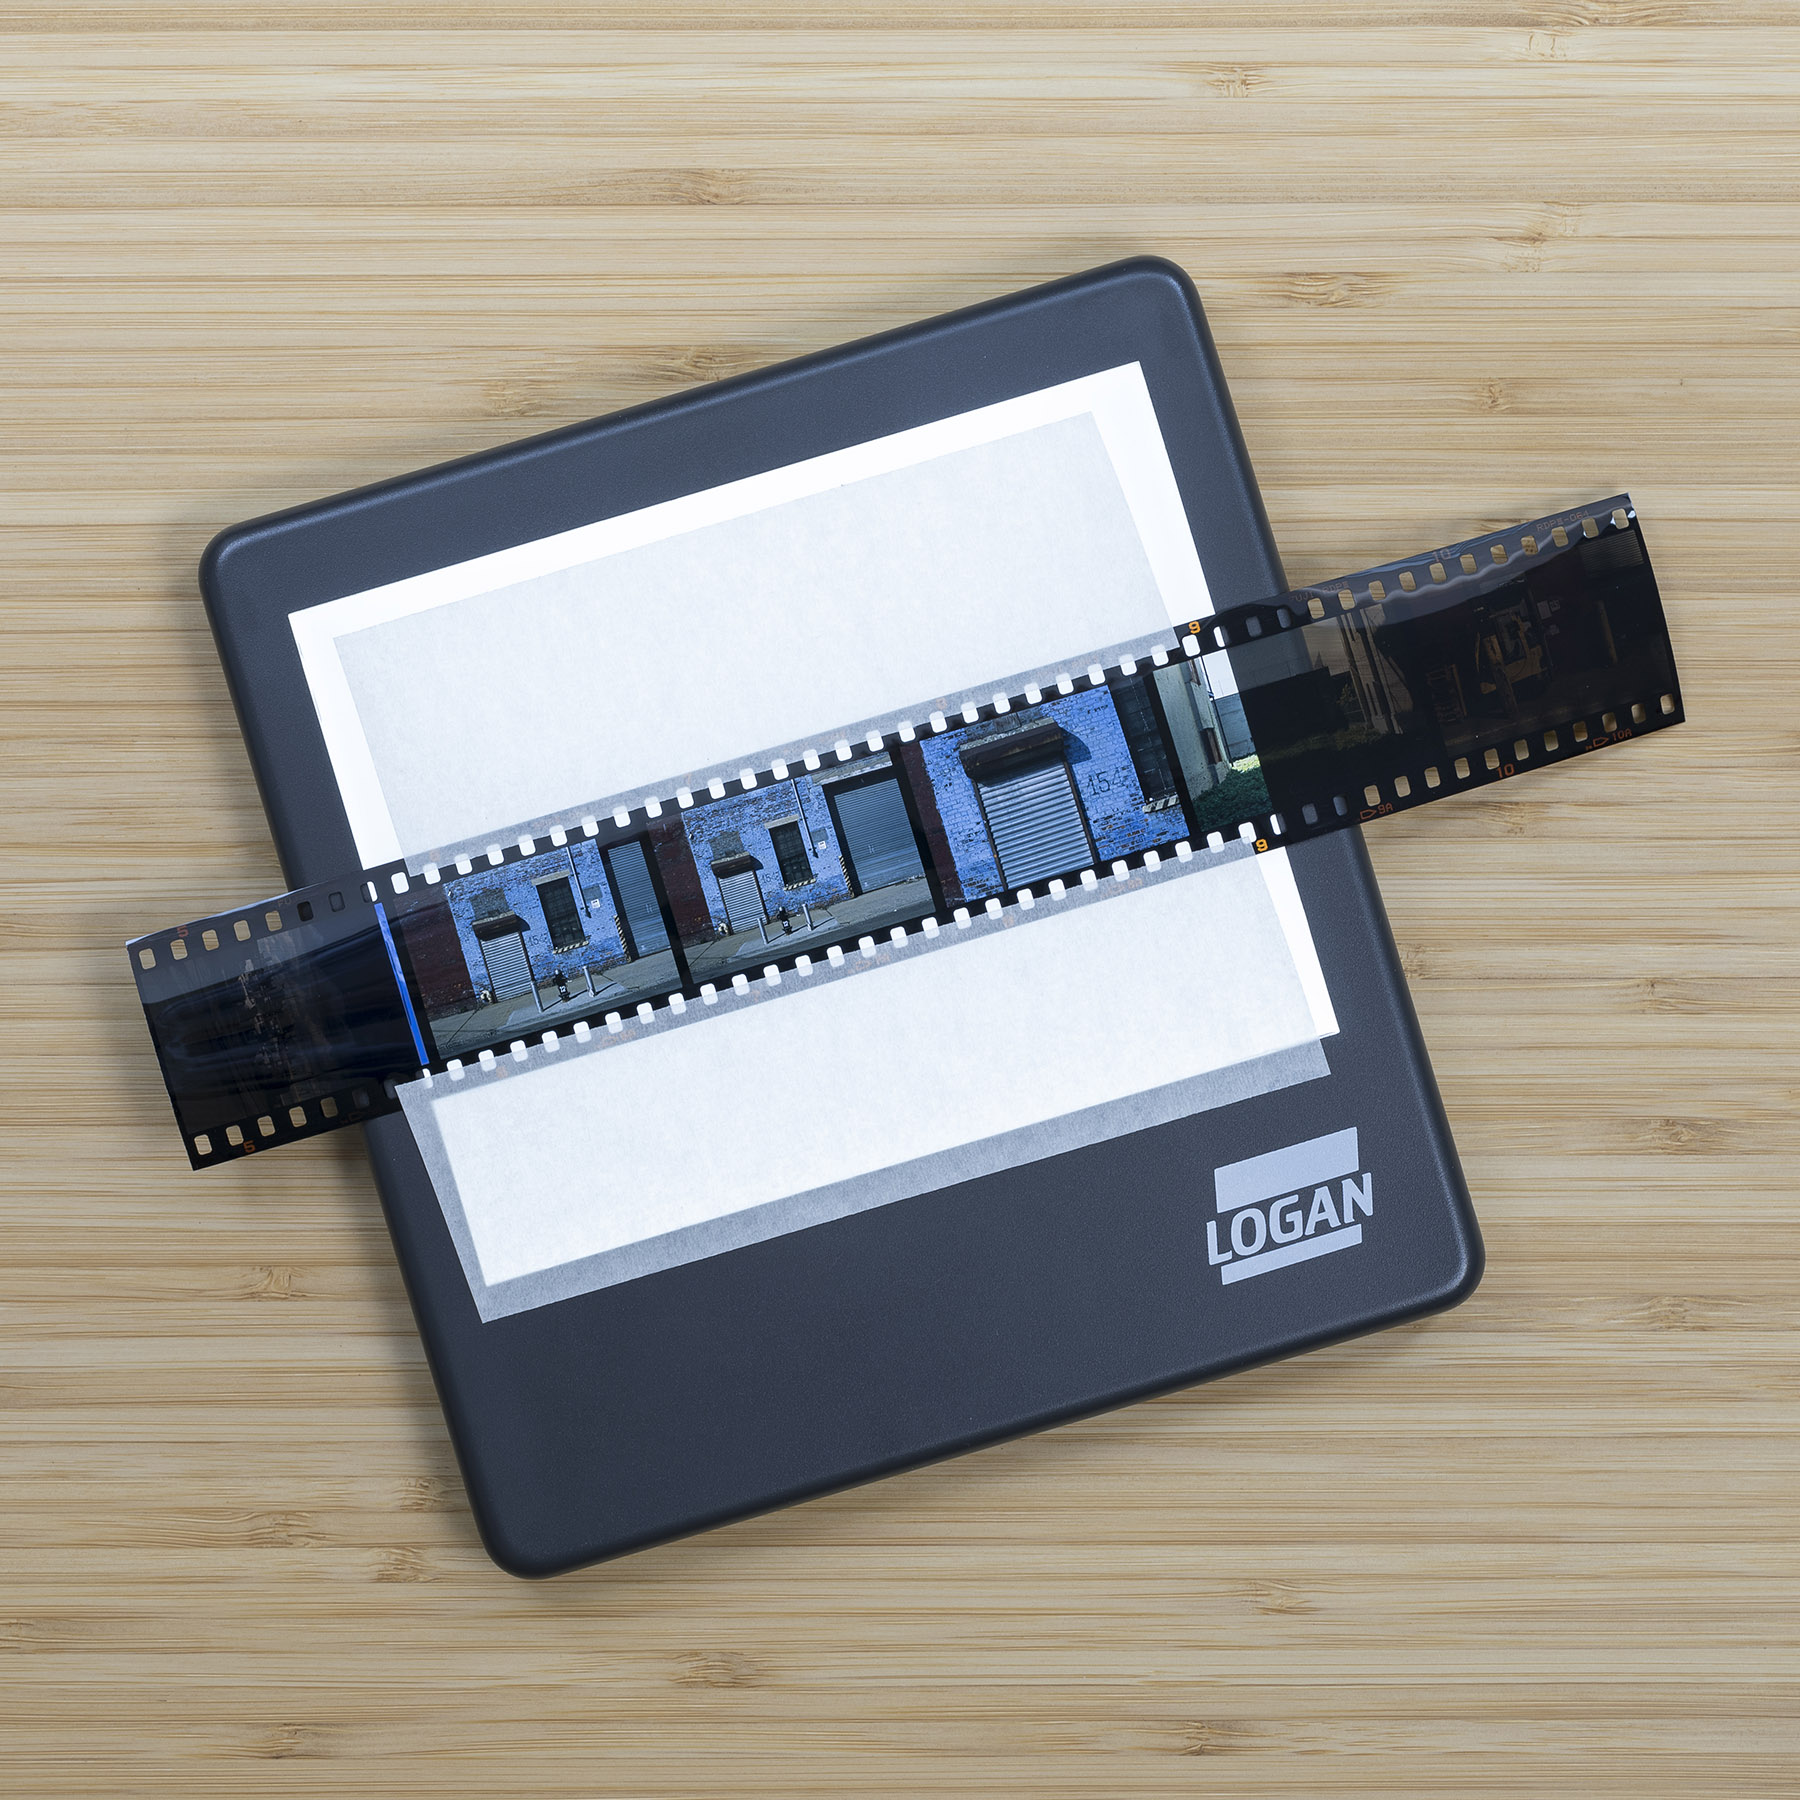
| Light Source | CCFL Logan Electric 4 x 5″ Slim Edge Light Pad |
LED |
| Lens | Canon EF 100mm f2.8L Macro IS | Not Applicable |
| Sensor | CMOS 24x36mm | Line CCD |
| Max Resolution | 30.4 million pixels, 6720×4480 | 24 millionpixels, 6048x4011 |
| Capture Software | Canon EOS Utility 3.8.20 (USB Telethering) |
Noritsu LS-600 + XnView |
| RAW Developer | Adobe Camera Raw | Not Required |
| Negative to Positive Converter | ColorPerfect | Not Required |
| Post Processing Software | Adobe Photoshop | Adobe Photoshop |
Process
Noritsu LS-600
For a description of the scanning process using the Noritsu LS-600, see our previous article.
DSLR Method: Canon 5D Mark IV
While the DSLR method is straighforward in concept, there are a few challenges to manage.
Keeping the film flat and straight
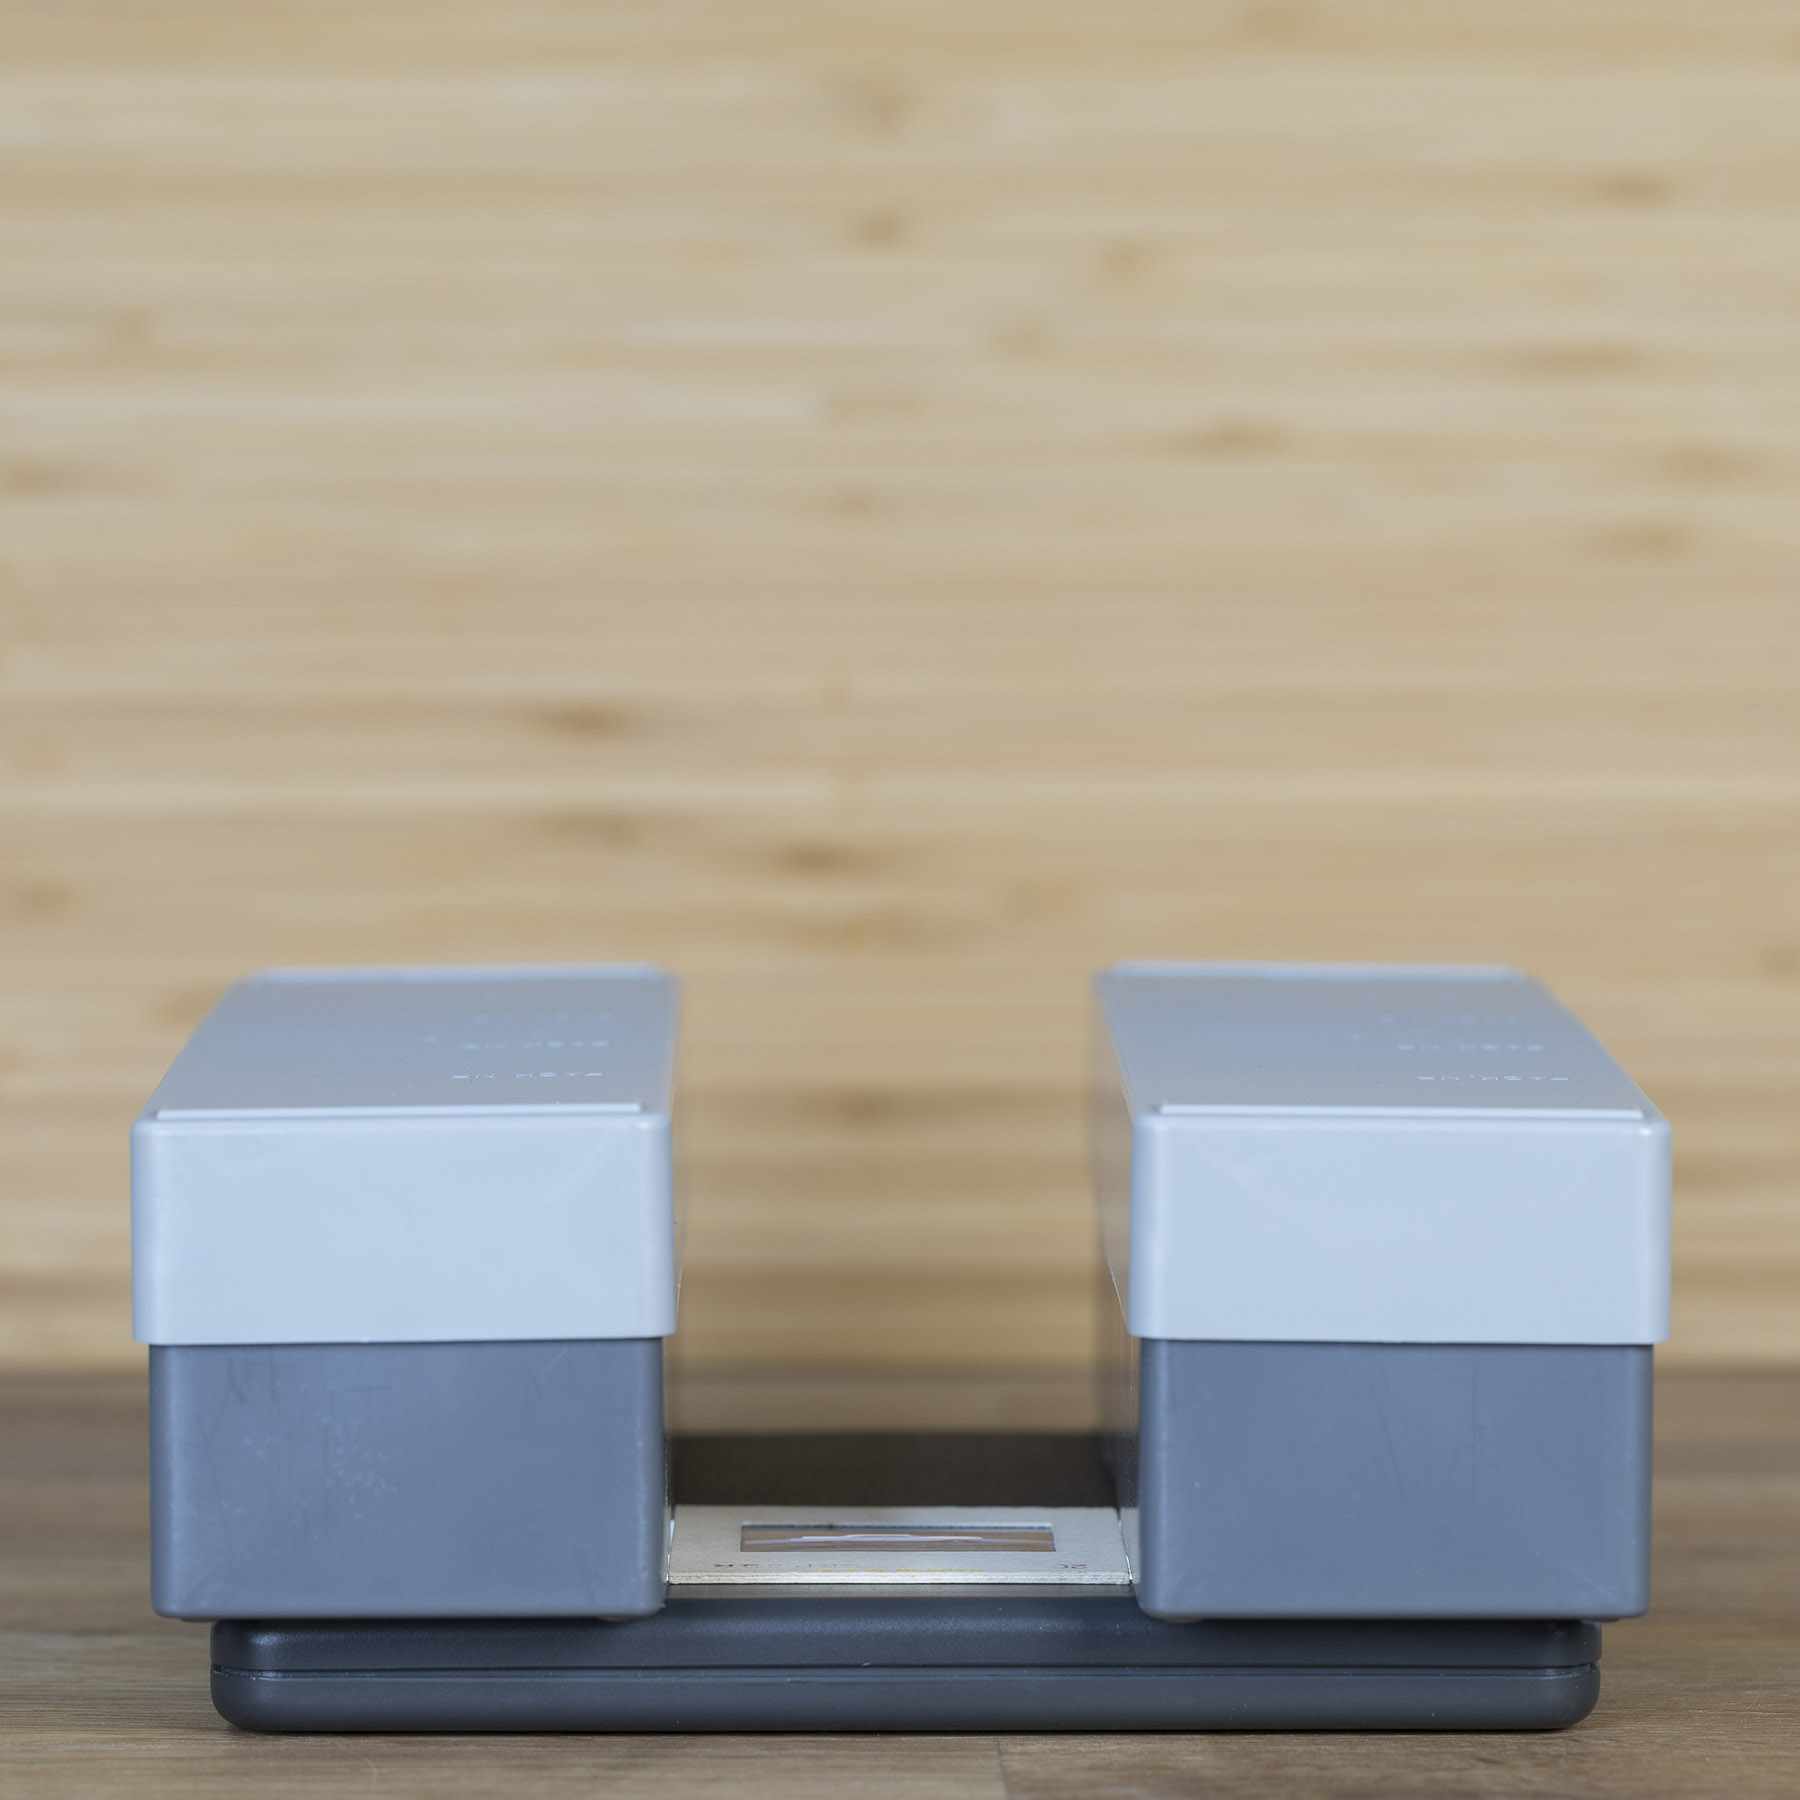
The key to a good scan is keeping the film as flat and straight as possible–but that can be challenging using a “homemade” stand for your camera. For strips of film, one option is tape the film to the light table. While simple and effective, it does slow down the process and isn’t the most practical when you’re working with large quantities.
Our solution has been to create guides using the plastic boxes we rest the camera on. As we slide the film in, it’s naturally aligned. It works especially well with mounted slides, which are usually easier to position than film strips.
We think this part of the process could be dramatically improved with a more industrial setup. (See conclusion for more, if you’re interested…)
 |
 |
Dust Removal
One drawback of the DSLR method is having to handle the film much more than when using the Noritsu LS-600. Not only does that take more time, it also increases the risk of getting dust on the film. You will need to manually remove the dust, which is a bit more cumbersome than the Noritsu LS-600’s automatic digital ICE dust removal feature.
Estimating exposure for negative film
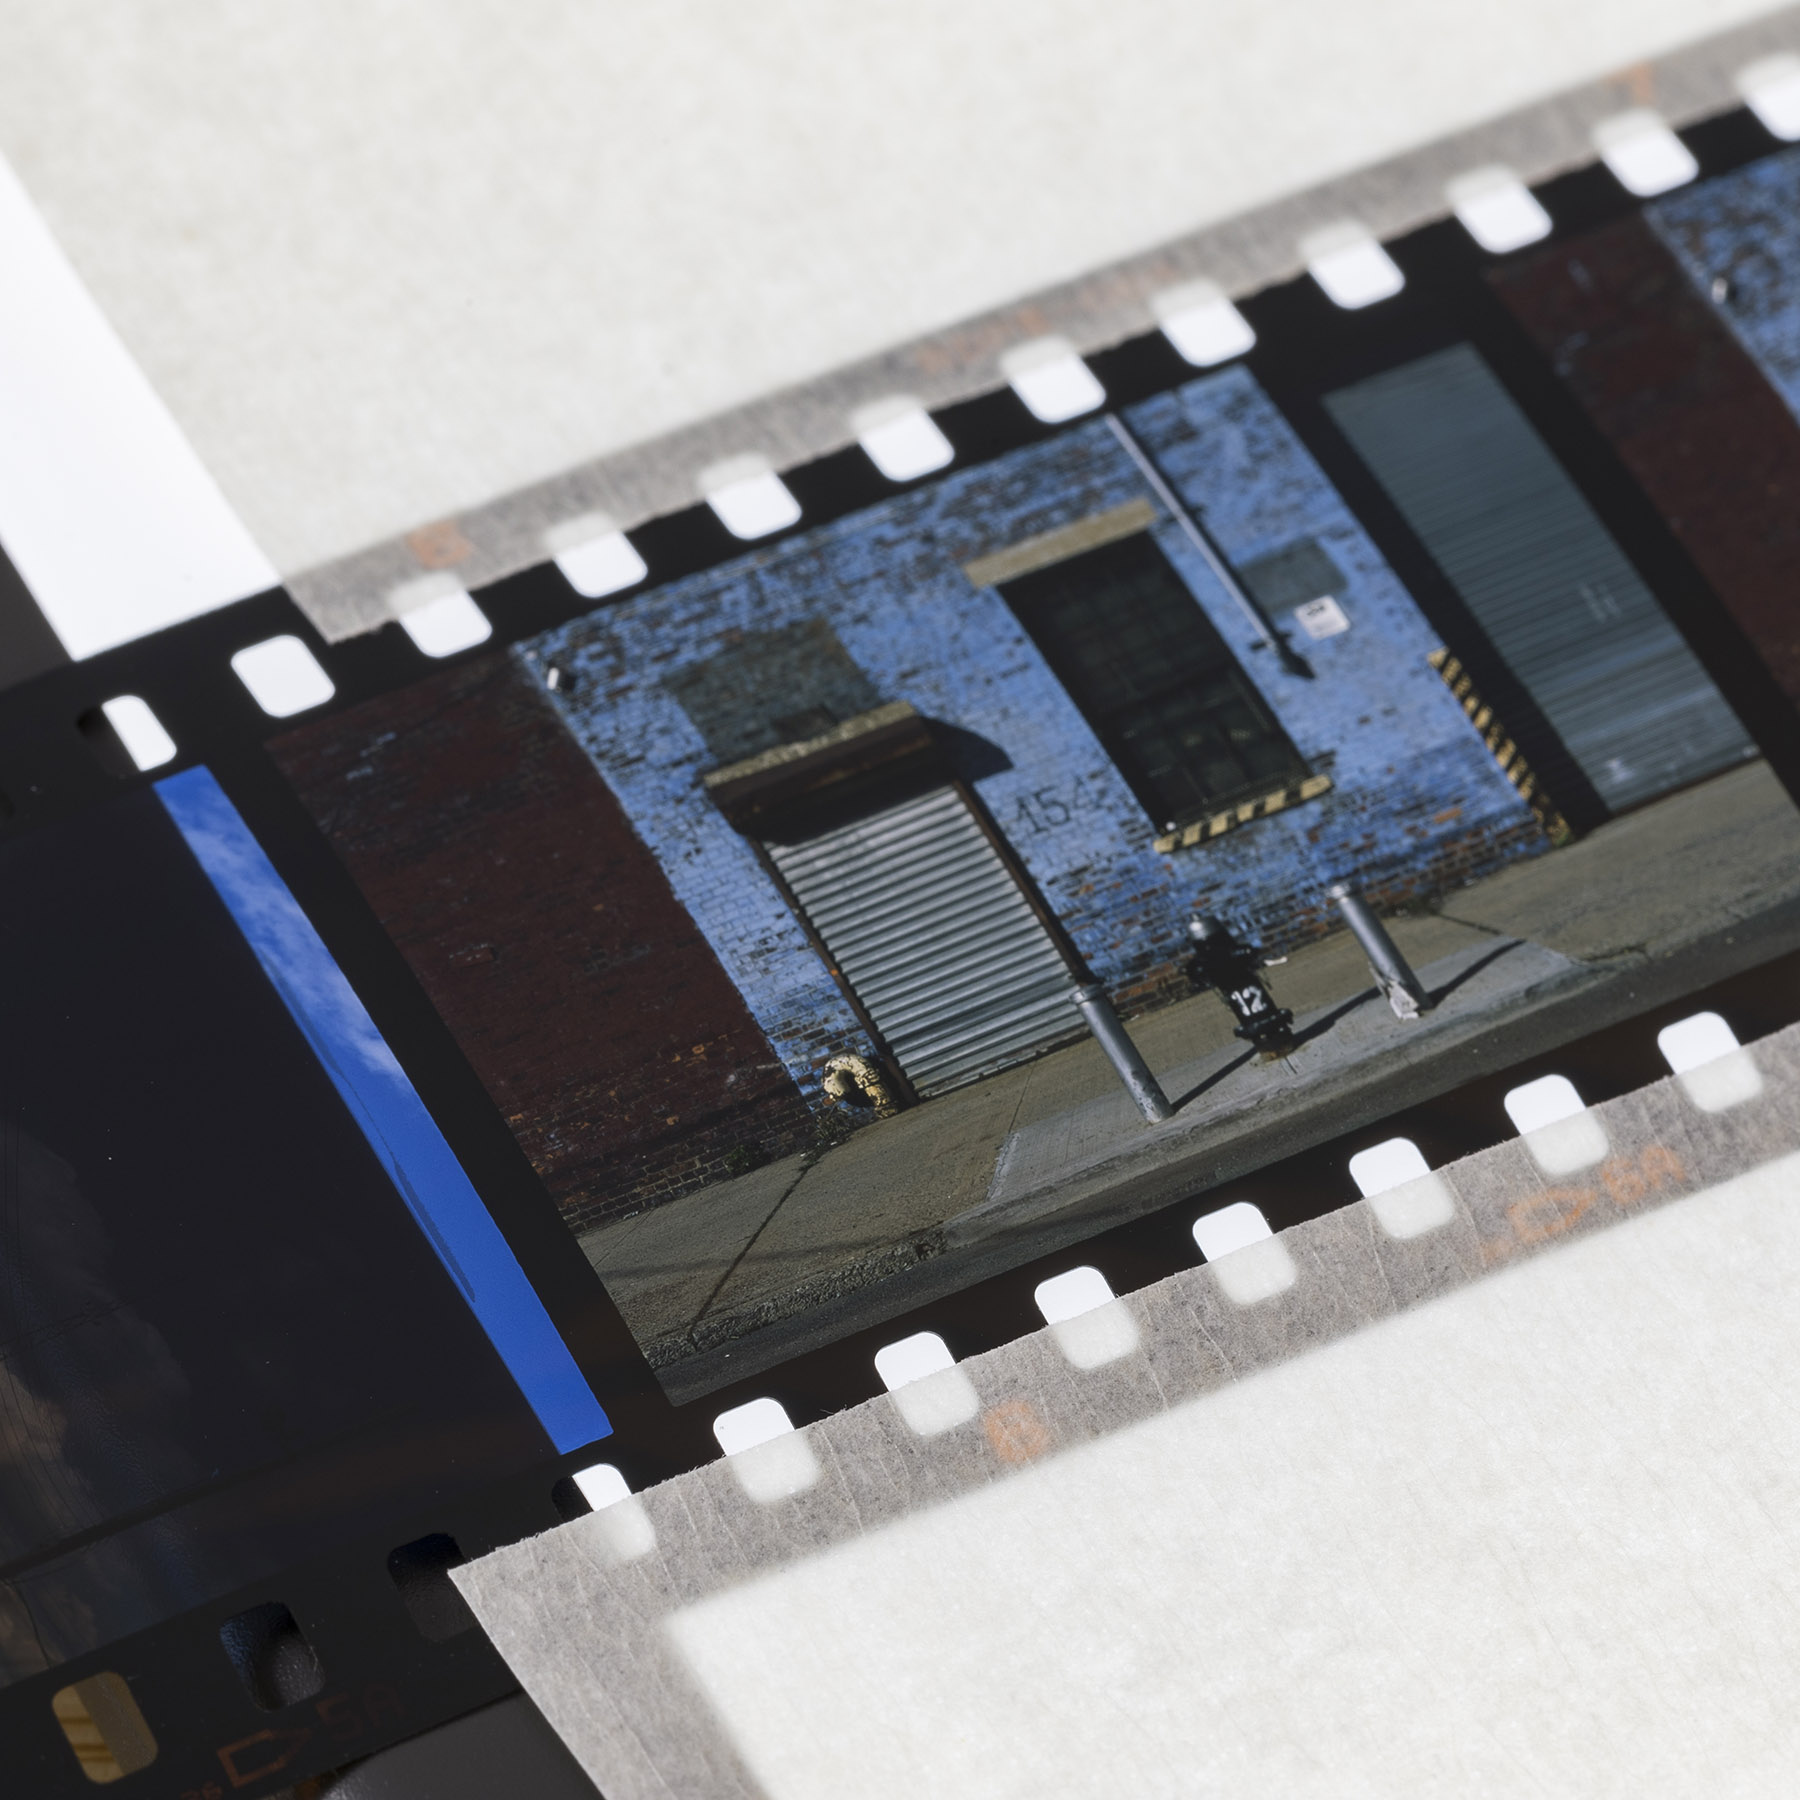
Calibrating exposure for slide film is easy because you can view the image clearly. For negative film, you’ll have to leave time in your process for some trial and error, as the exposure is difficult to estimate. Not only are the colors reversed, the film also has an orange mask that absorbs light.
Negative to positive Conversion
The Noritsu LS-600 automatically converts negative film to positive images as it scans. Our question was: what is the easiest way to complete this step with the DSLR method?
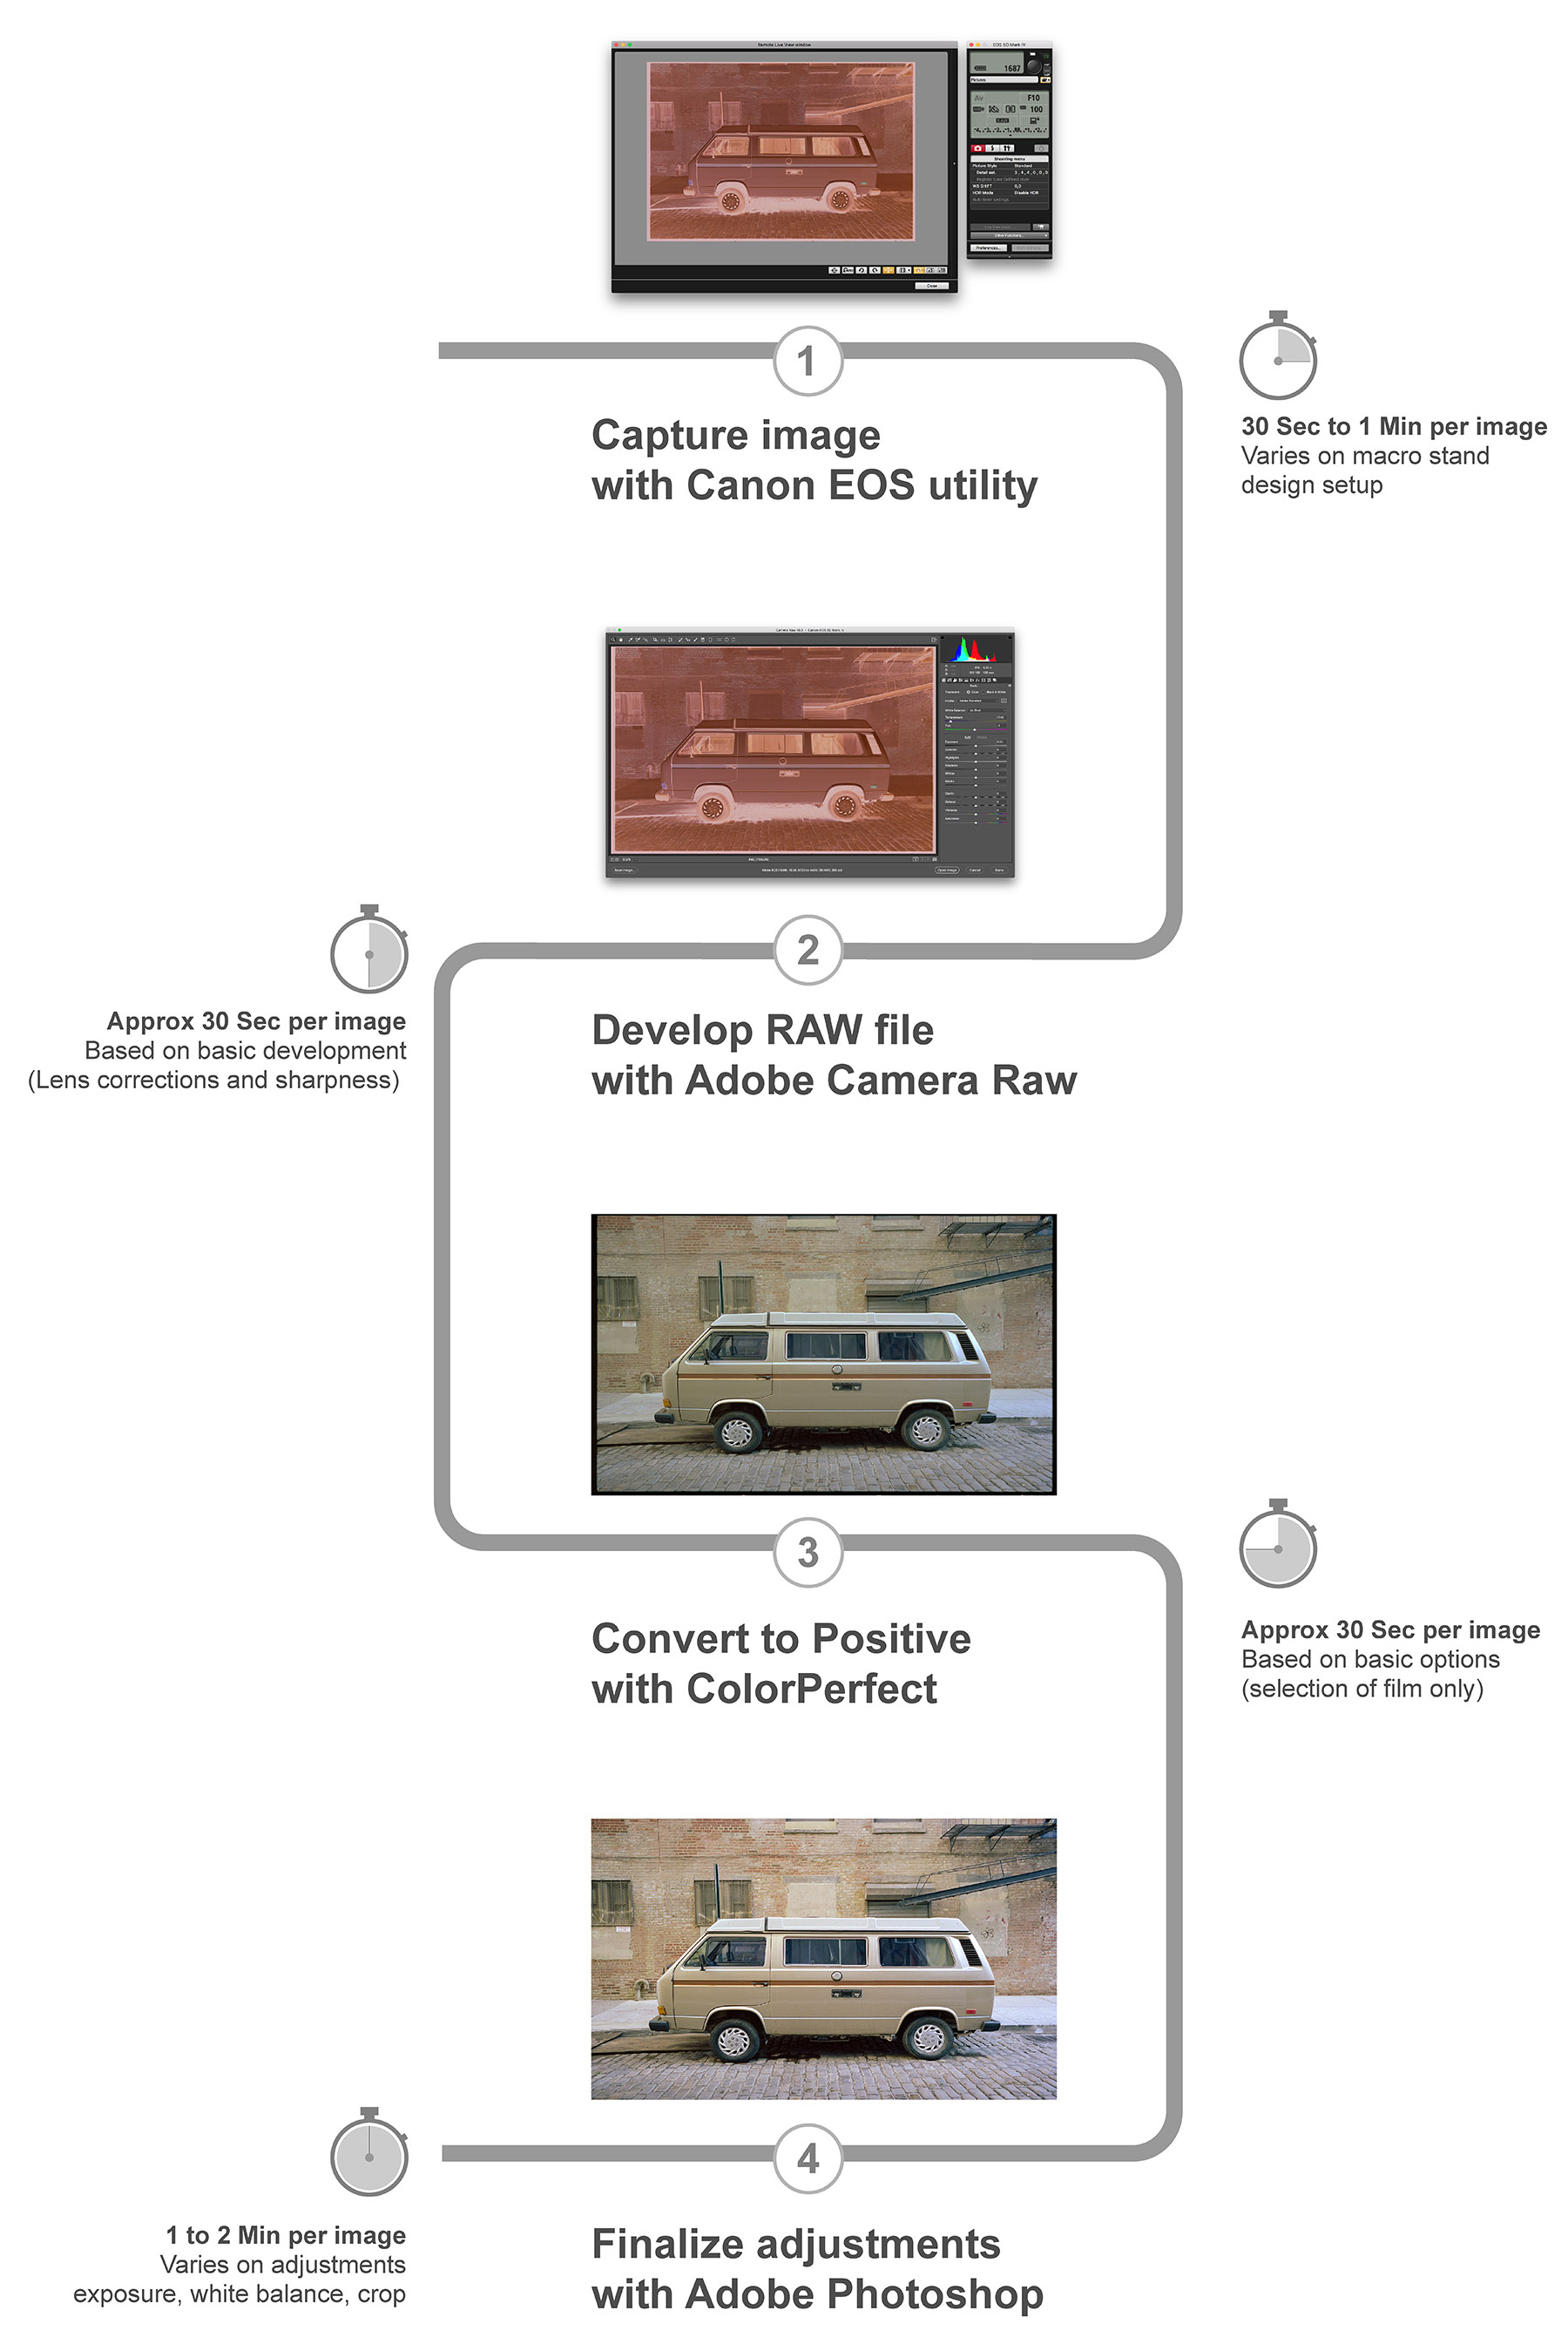
With a DSLR, you capture the negative film the way it is: a negative. You’ll most likely convert the image to a positive during post processing using a photo editor, such as Adobe Photoshop.
Within the photo editor, there are several options for completing the conversion. One of the most obvious options is to use an invert feature, but the results are not perfect. You’ll need to make some additional manual adjustments, such as removing the orange mask and adjusting the color balance (which can vary by film manufacturer). These adjustments can be time consuming and require a lot of practice and expertise.
An alternative is to find some scripts or a plugin that to run automatically in Photoshop to execute the conversion. We decided to go with ColorPerfect (about $70). While a bit buggy and confusing because it contains many options, we like how quickly it converts negatives. The results are excellent, even without using all the complex options. Just select the film manufacturer and emulsion and the plugin does the rest. The white balance results from these conversions are very similar to the files generated by the Noritsu LS-600.
Comparison: Workflow and process time
Below we’ve estimated the processing time required for each step in the scanning process. Overall, the Noritsu LS-600 is faster because the workflow is simpler: the output of the scan is an image almost ready to be printed. With the DSLR method, you have to take a few more steps (and a few more tools) to finalize the image.
| Setup | Canon 5D Mark IV + 100mm f2.8L Macro |
Canon 5D Mark IV + 100mm f2.8L Macro |
Noritsu LS-600 |
| Film | Negative | Slide | Negative & Slide |
| Capture Mode | RAW | RAW | TIFF |
| Capture Time | 30 sec to 1 min (60 to 120 images/hour) |
30 sec to 1 min (60 to 120 images/hour) |
1 min (60 images/hour) |
| RAW Development Time | 30 sec to 1 min (60 to 120 images/hour) |
1 to 2 min (30 to 60 images/hour) |
Not Required |
| Negative to Positive Conversion Time | 30 sec to 1 min (60 to 120 images/hour) |
Not Required | Not Required |
| Final Adjustments | 30 sec to 1 min (60 to 120 images/hour) |
Not Required | Not Required |
| TOTAL | 3 Minutes per image | 2 Minutes per image | 1 Minute per image |
A Note About RAW Capture
The above processing time chart compares scanning to RAW files with the DSLR method and TIFF files with the Noritsu LS-600. You could say that’s not a fair comparison–that we should compare scanning RAW file with both methods. That makes sense, in theory, but it doesn’t correspond with how most people use the Noritsu LS-600.
On the DSLR side, we could have used either JPG or RAW. We opted for RAW because the JPG capture doesn’t provide the same latitude of post processing capabilities as the Noritsu LS-600’s TIFF capture. In fact, when it comes to post-processing, the RAW capture with a DSLR is quite comparable to the TIFF capture by the Noritsu LS-600.
So, while using the DSLR’s RAW capture slows down the process, it’s the best method to achieving comparable quality to Noritsu LS-600’s TIFF capture.
 |
Results
While the setup and process comparisons are important, the real proof is in the results: how does image quality compare?
From our perspective, the two scanning methods produce very similar results.
In term of resolution, the DSLR method using Canon 5D Mark IV’s 30MP does not differ significantly from the Noritsu LS-600. The Canon 5D Mark IV has a slightly better dynamic range and sharpness–even though the Canon 5D Mark IV not known as best-in class in term of dynamic range. (The dynamic range could be even better using a camera known for this feature, such as the Nikon D850 or Sony A7X.)
The Noritsu LS-600’s advantage is in better preserving the film’s graininess, maintaining the authentic look of the film. However, this advantage is probably subject to personal taste; some may prefer low/no grain.
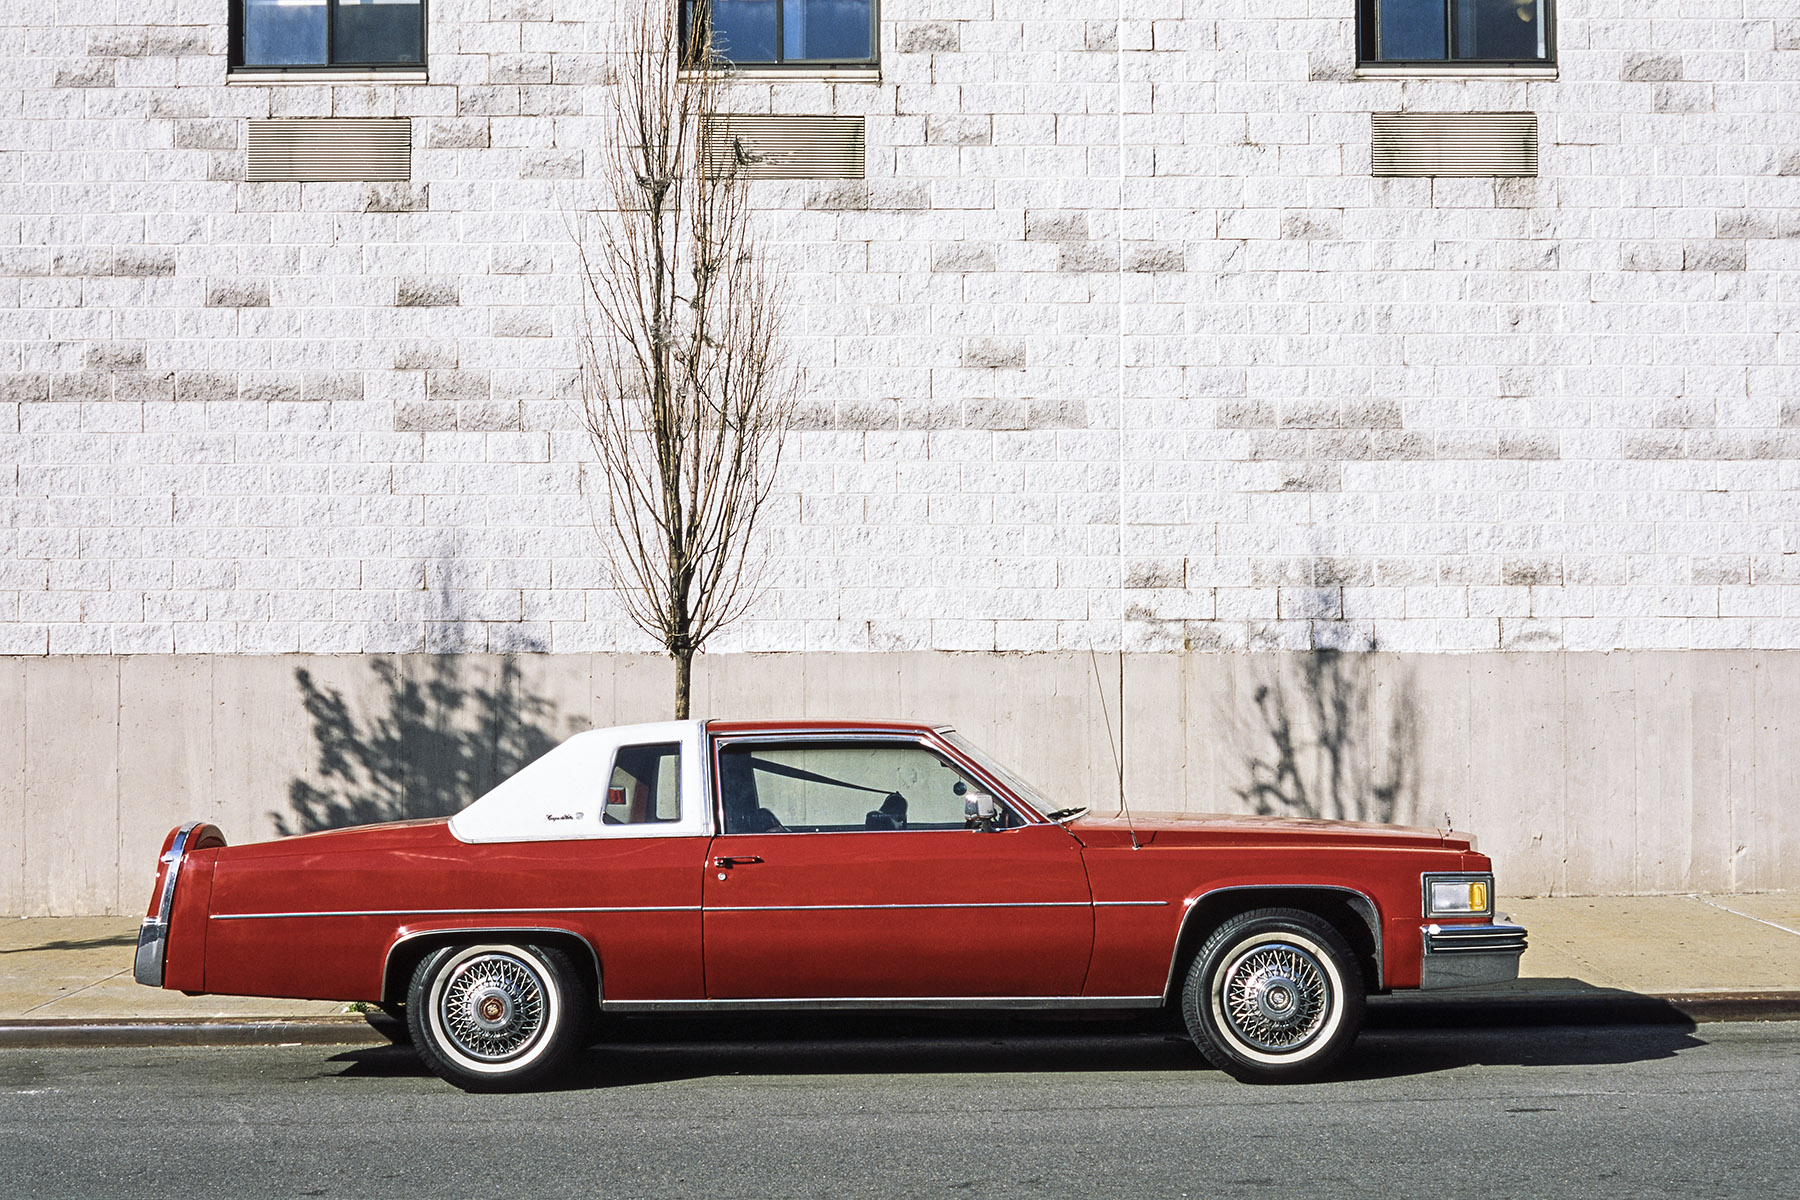
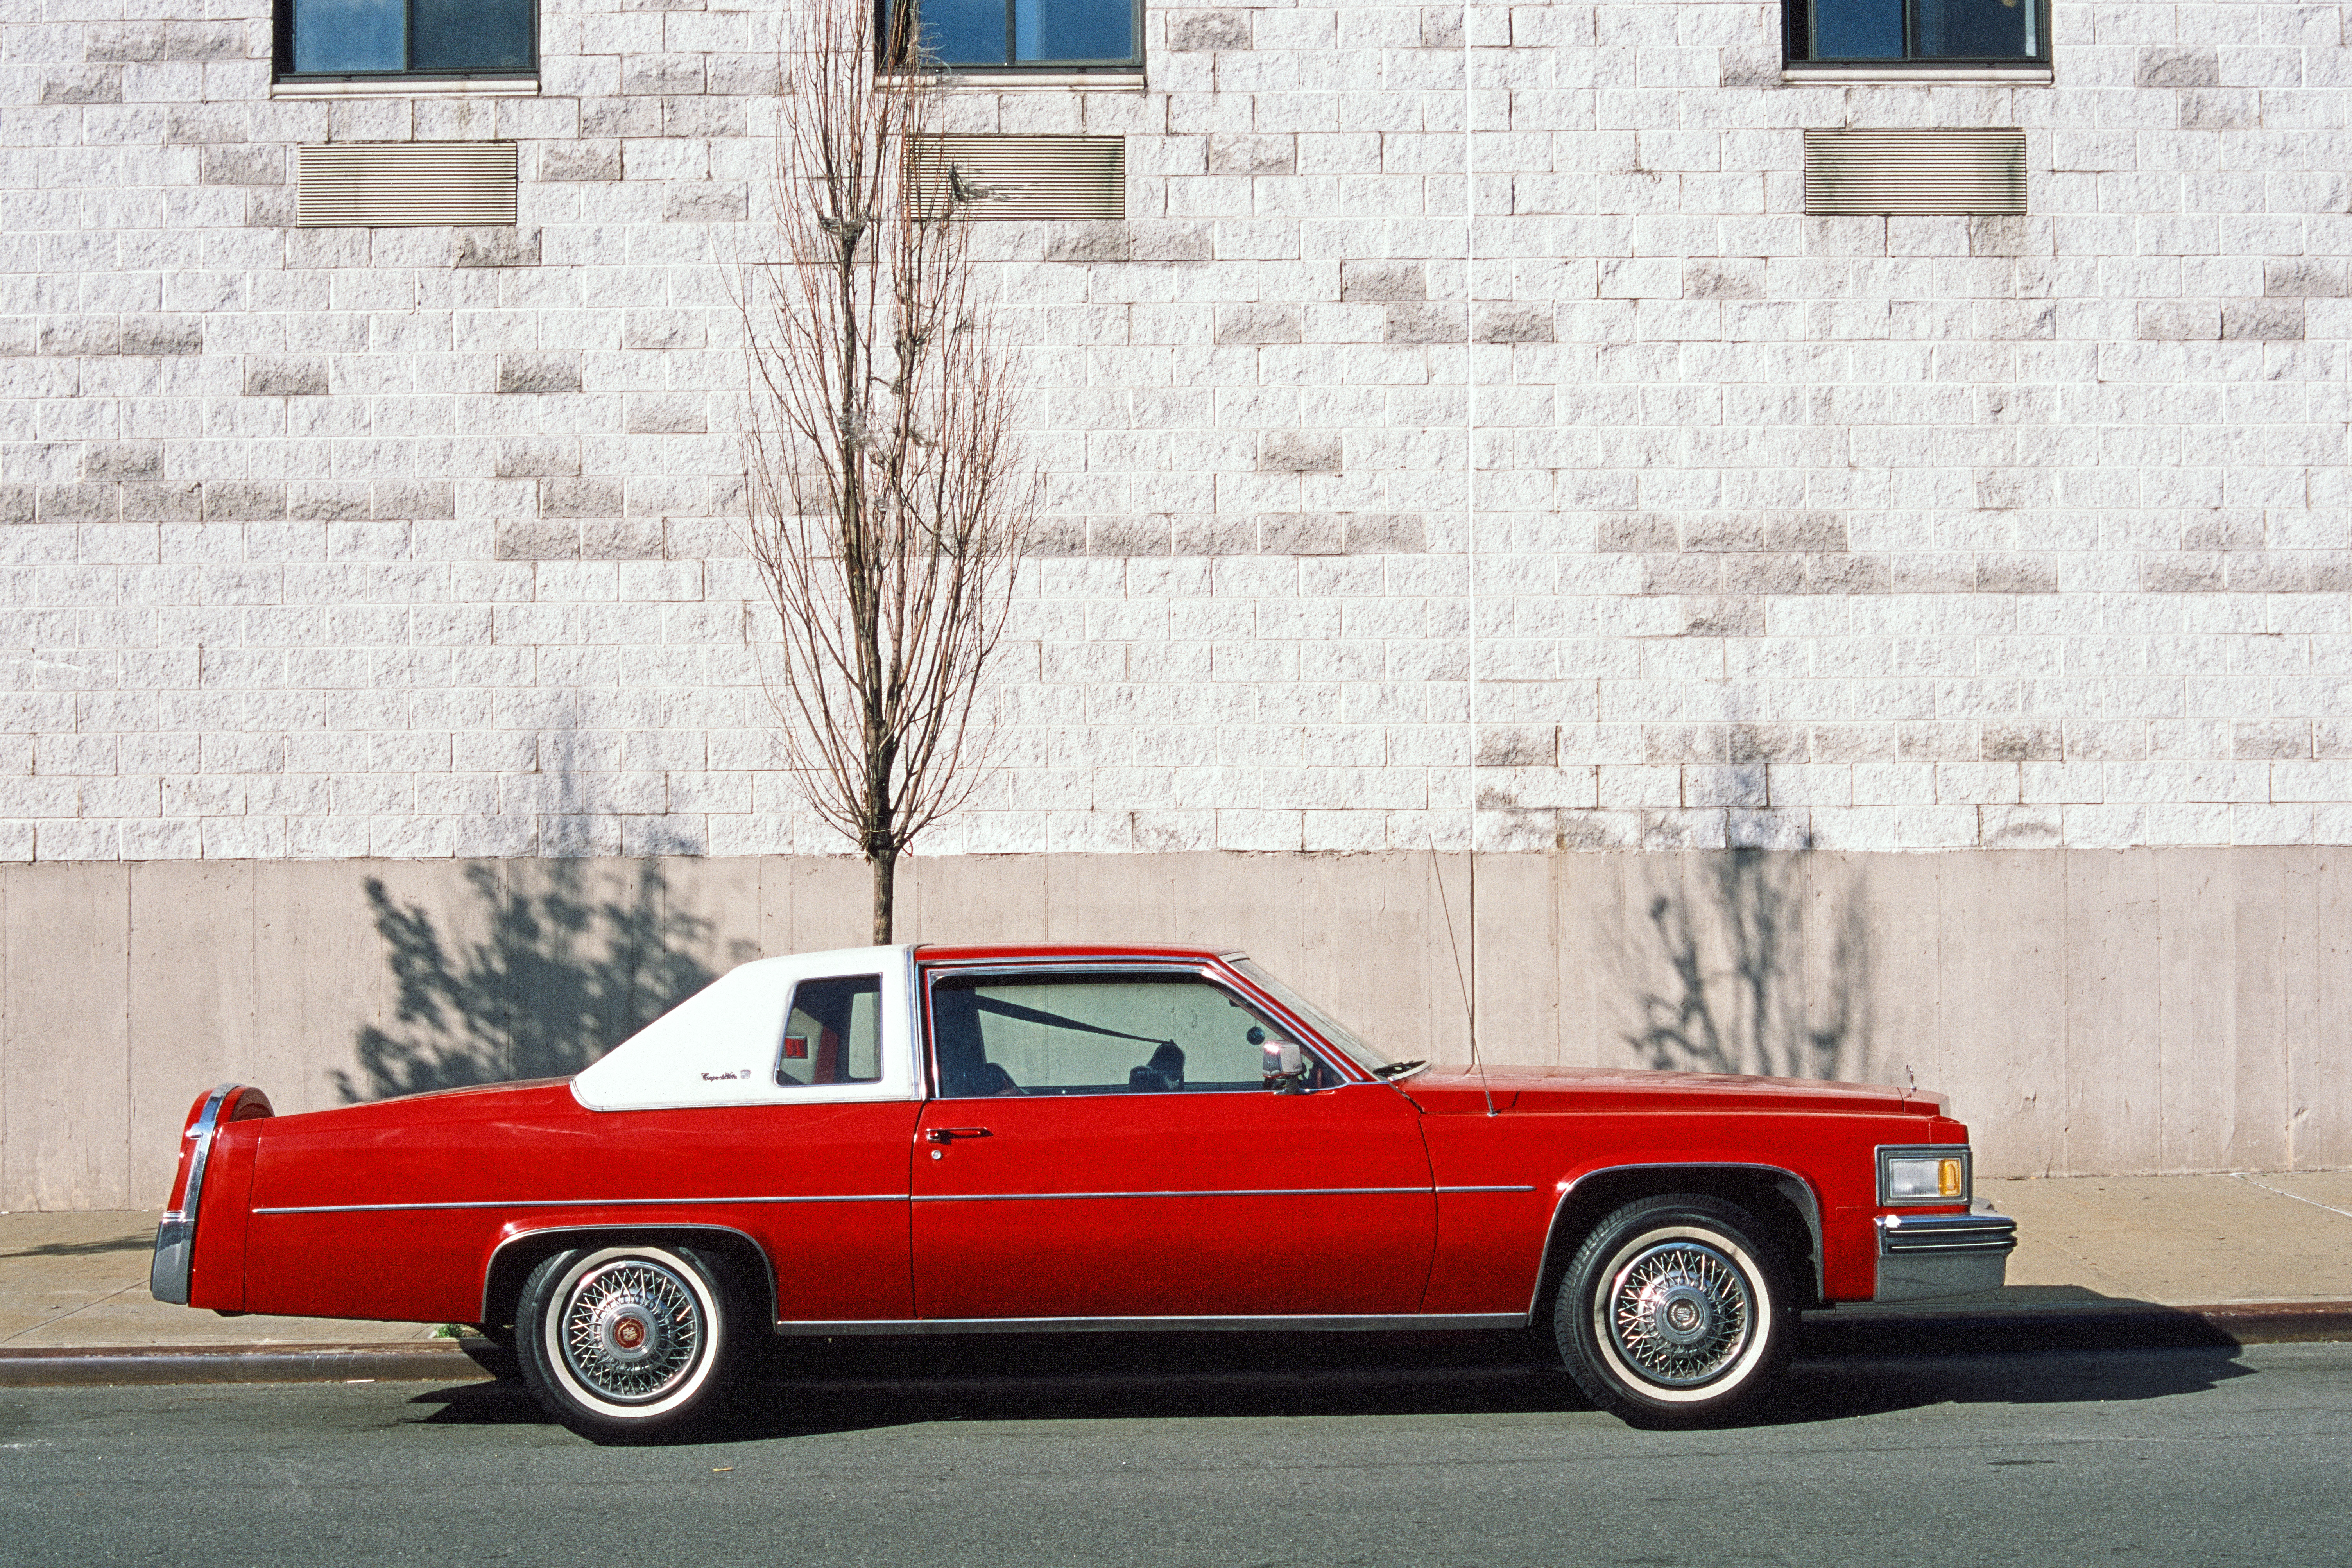
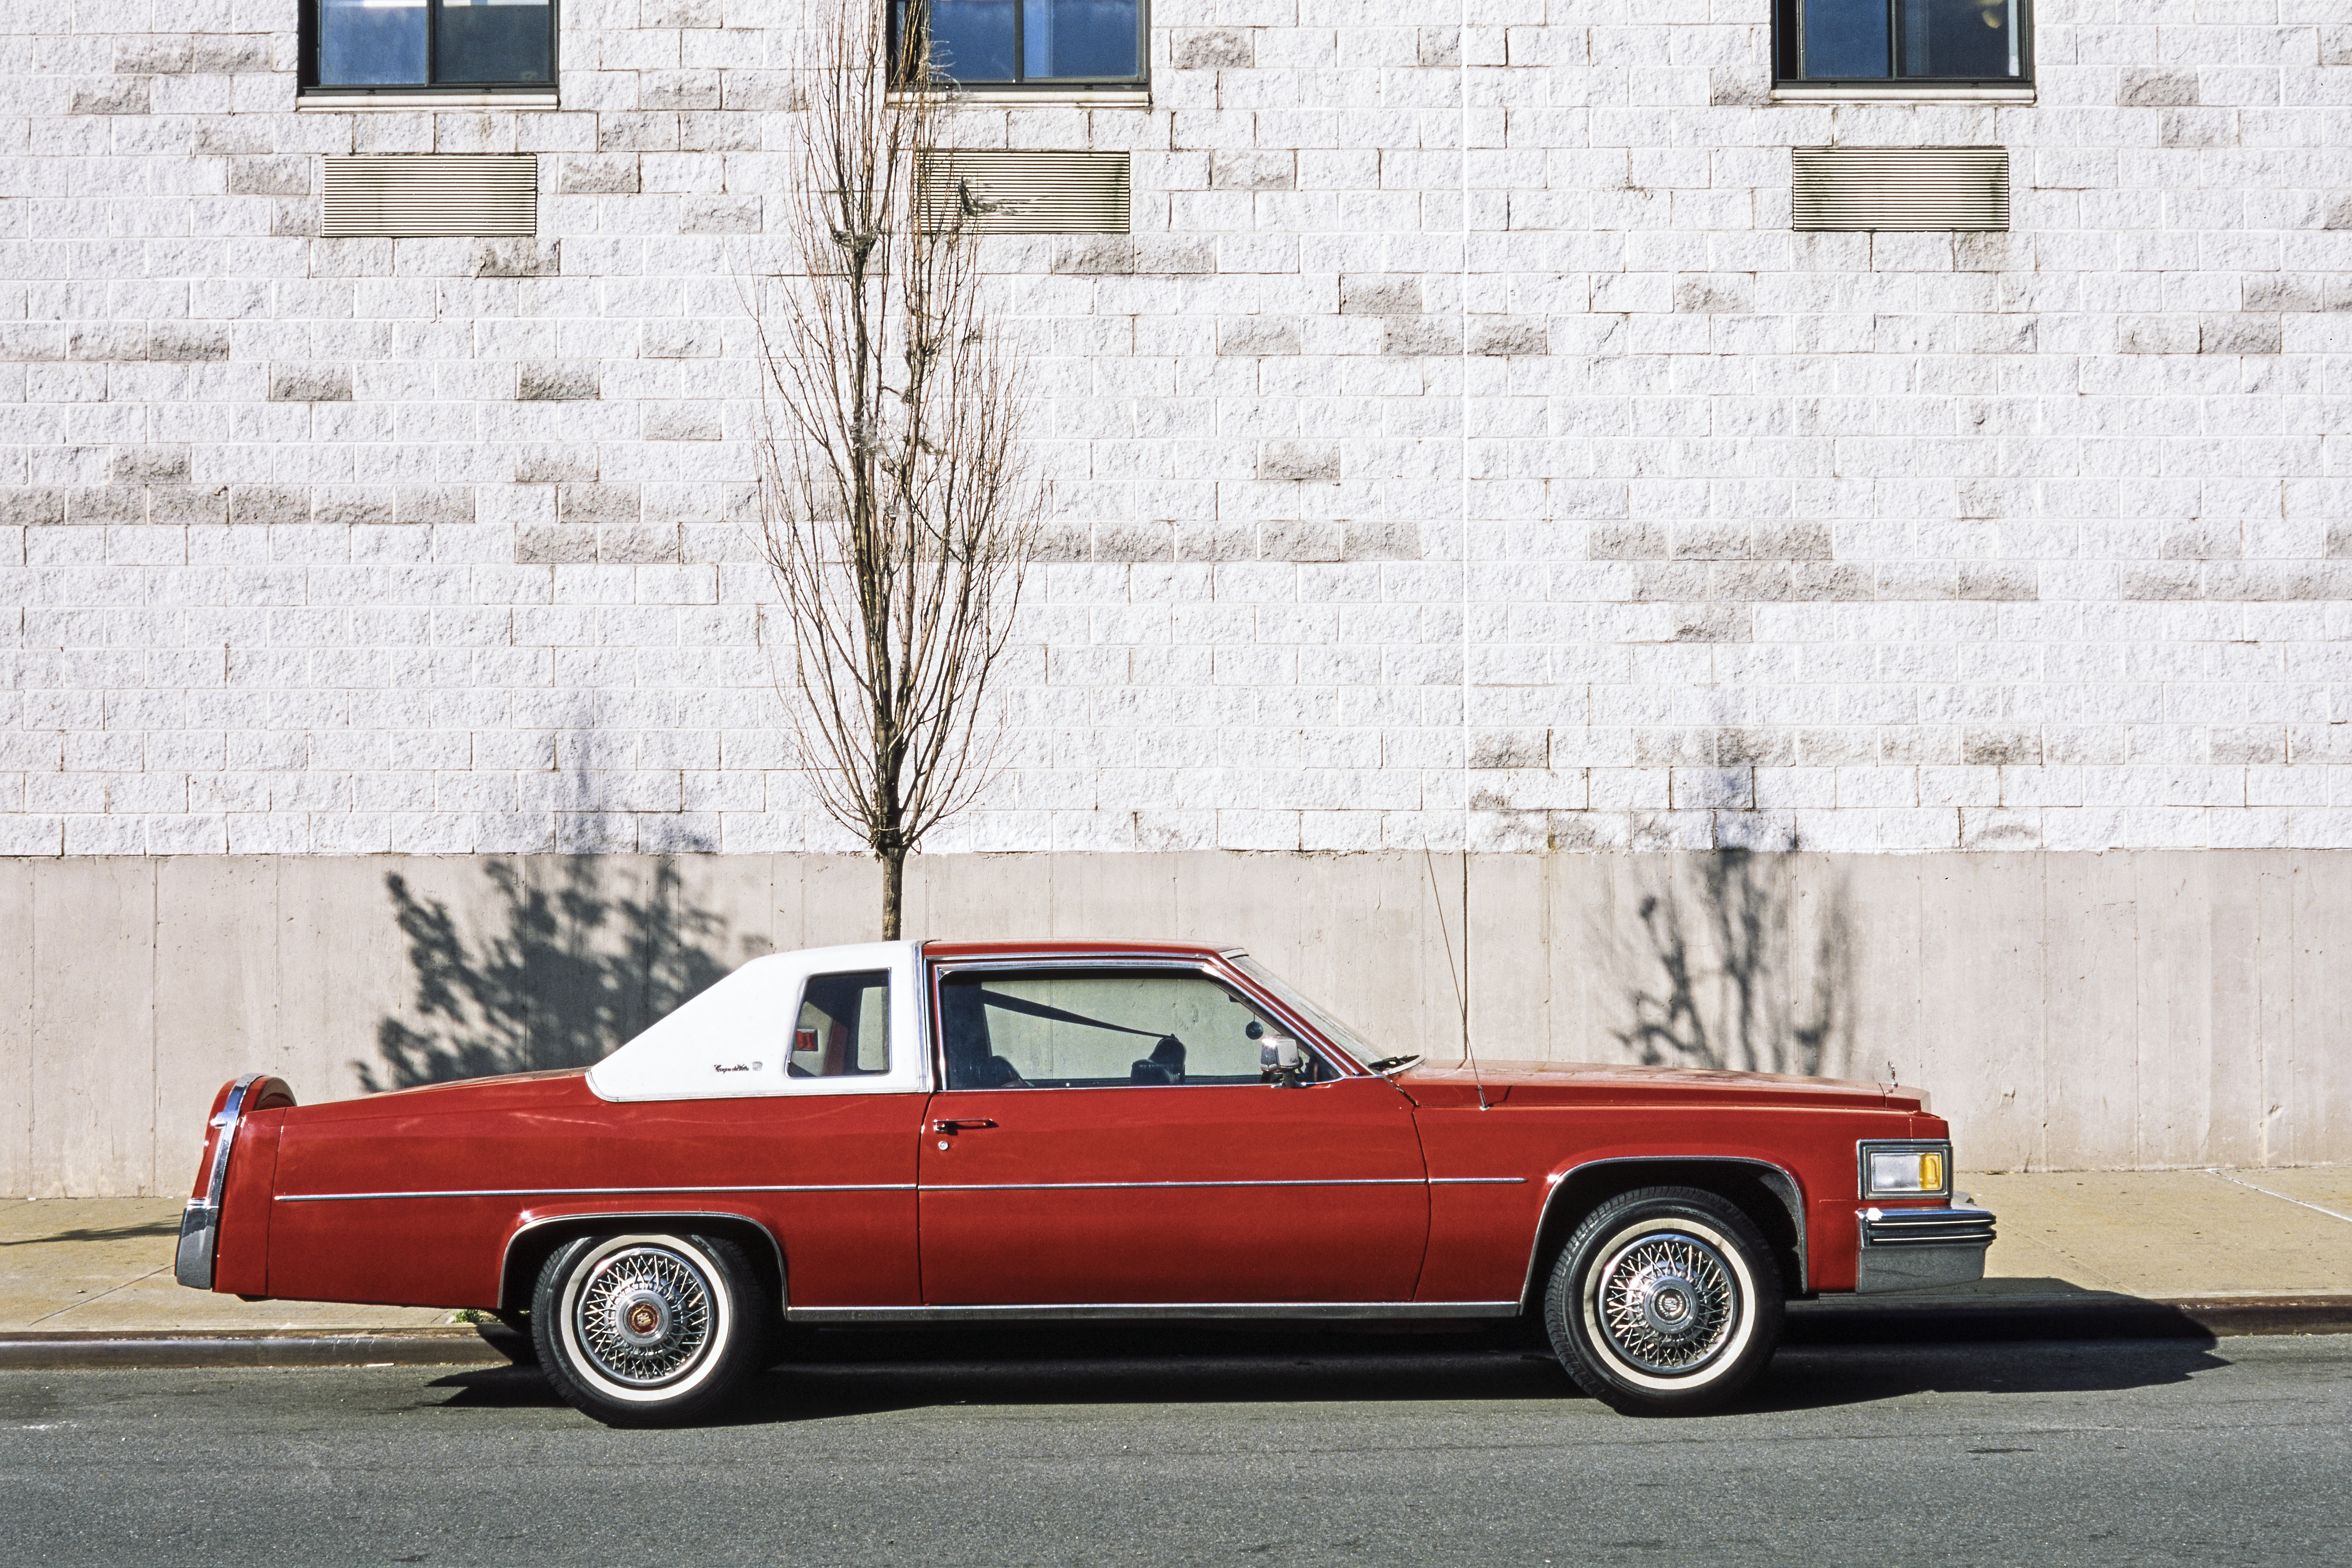
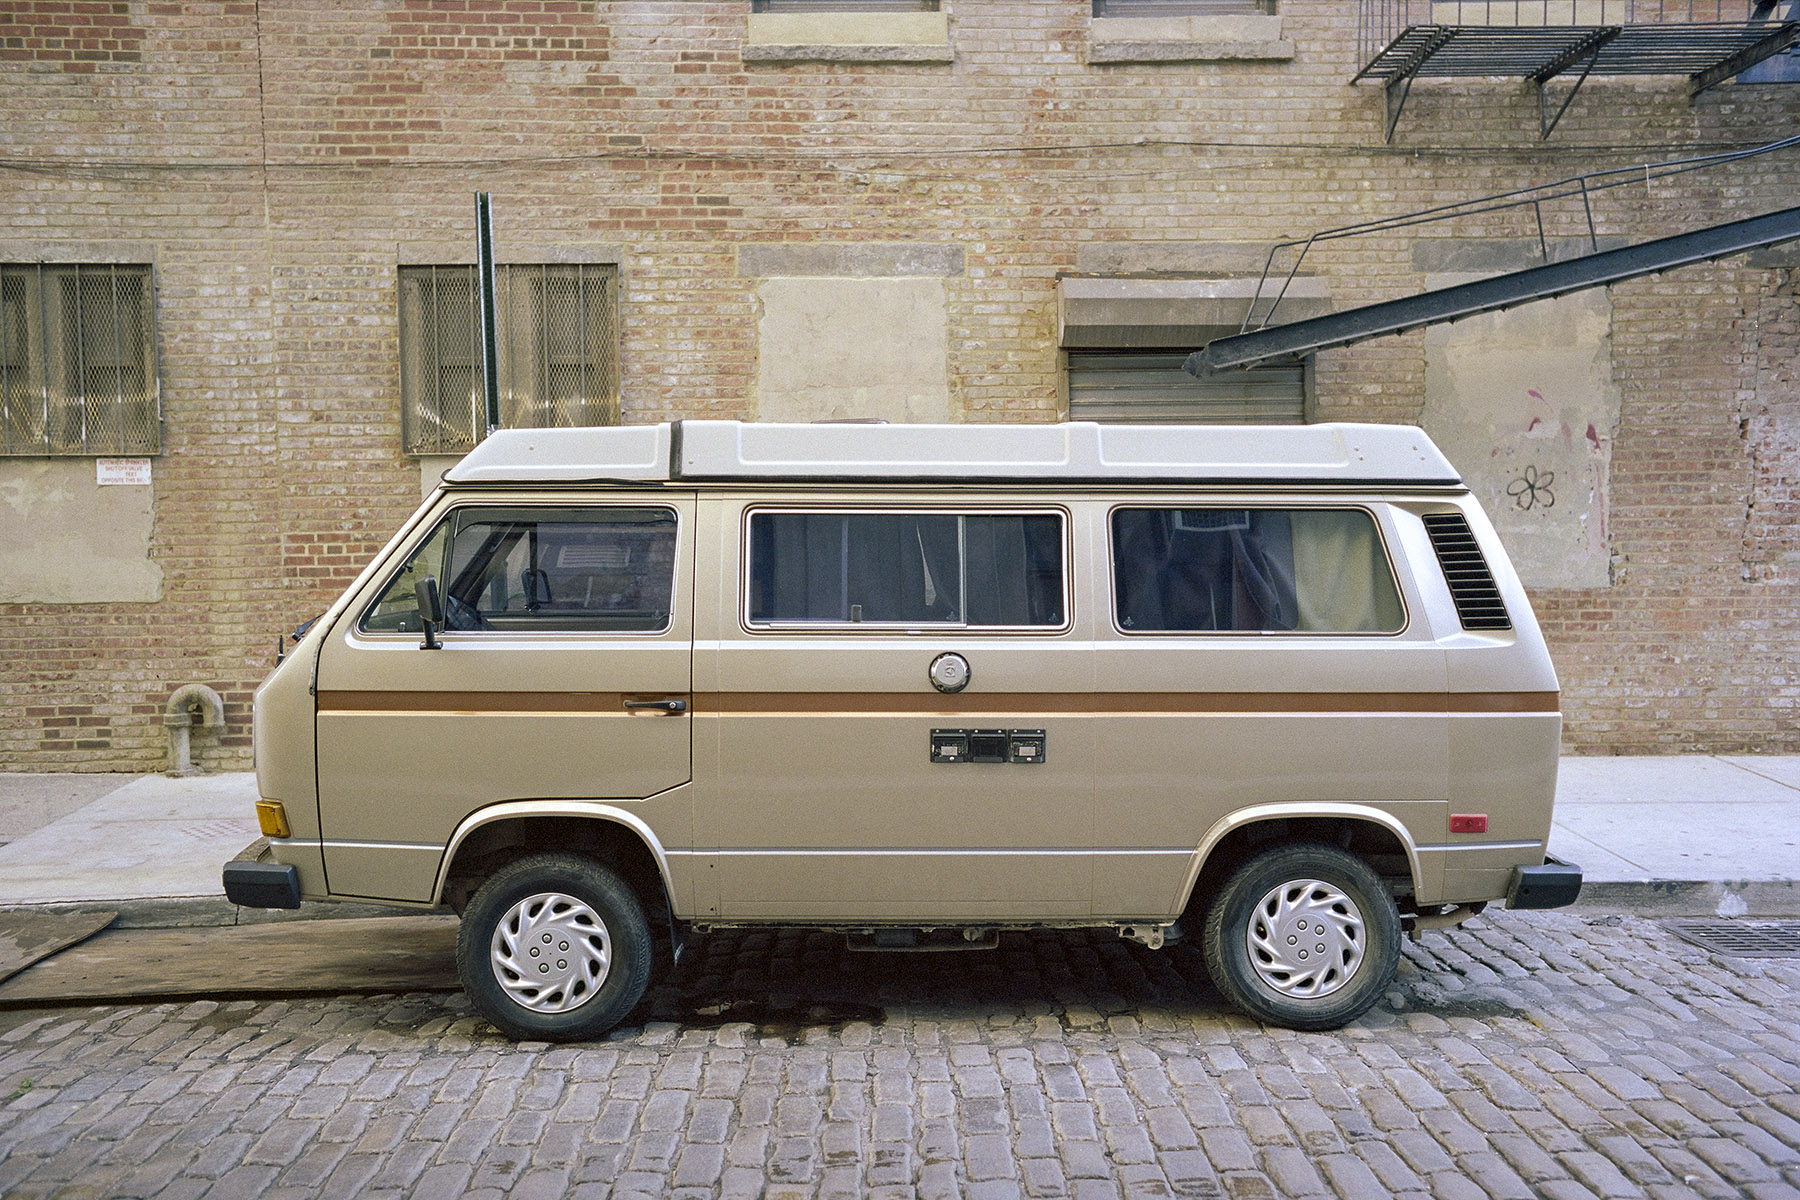
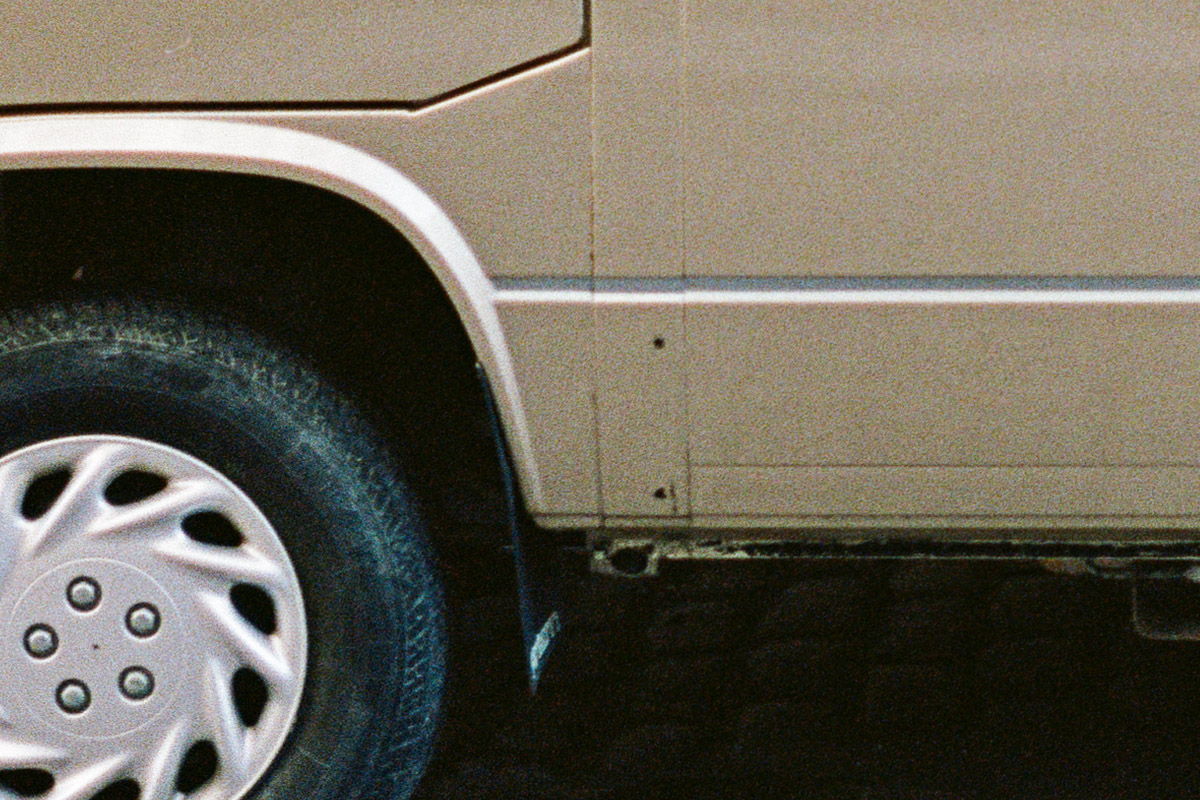
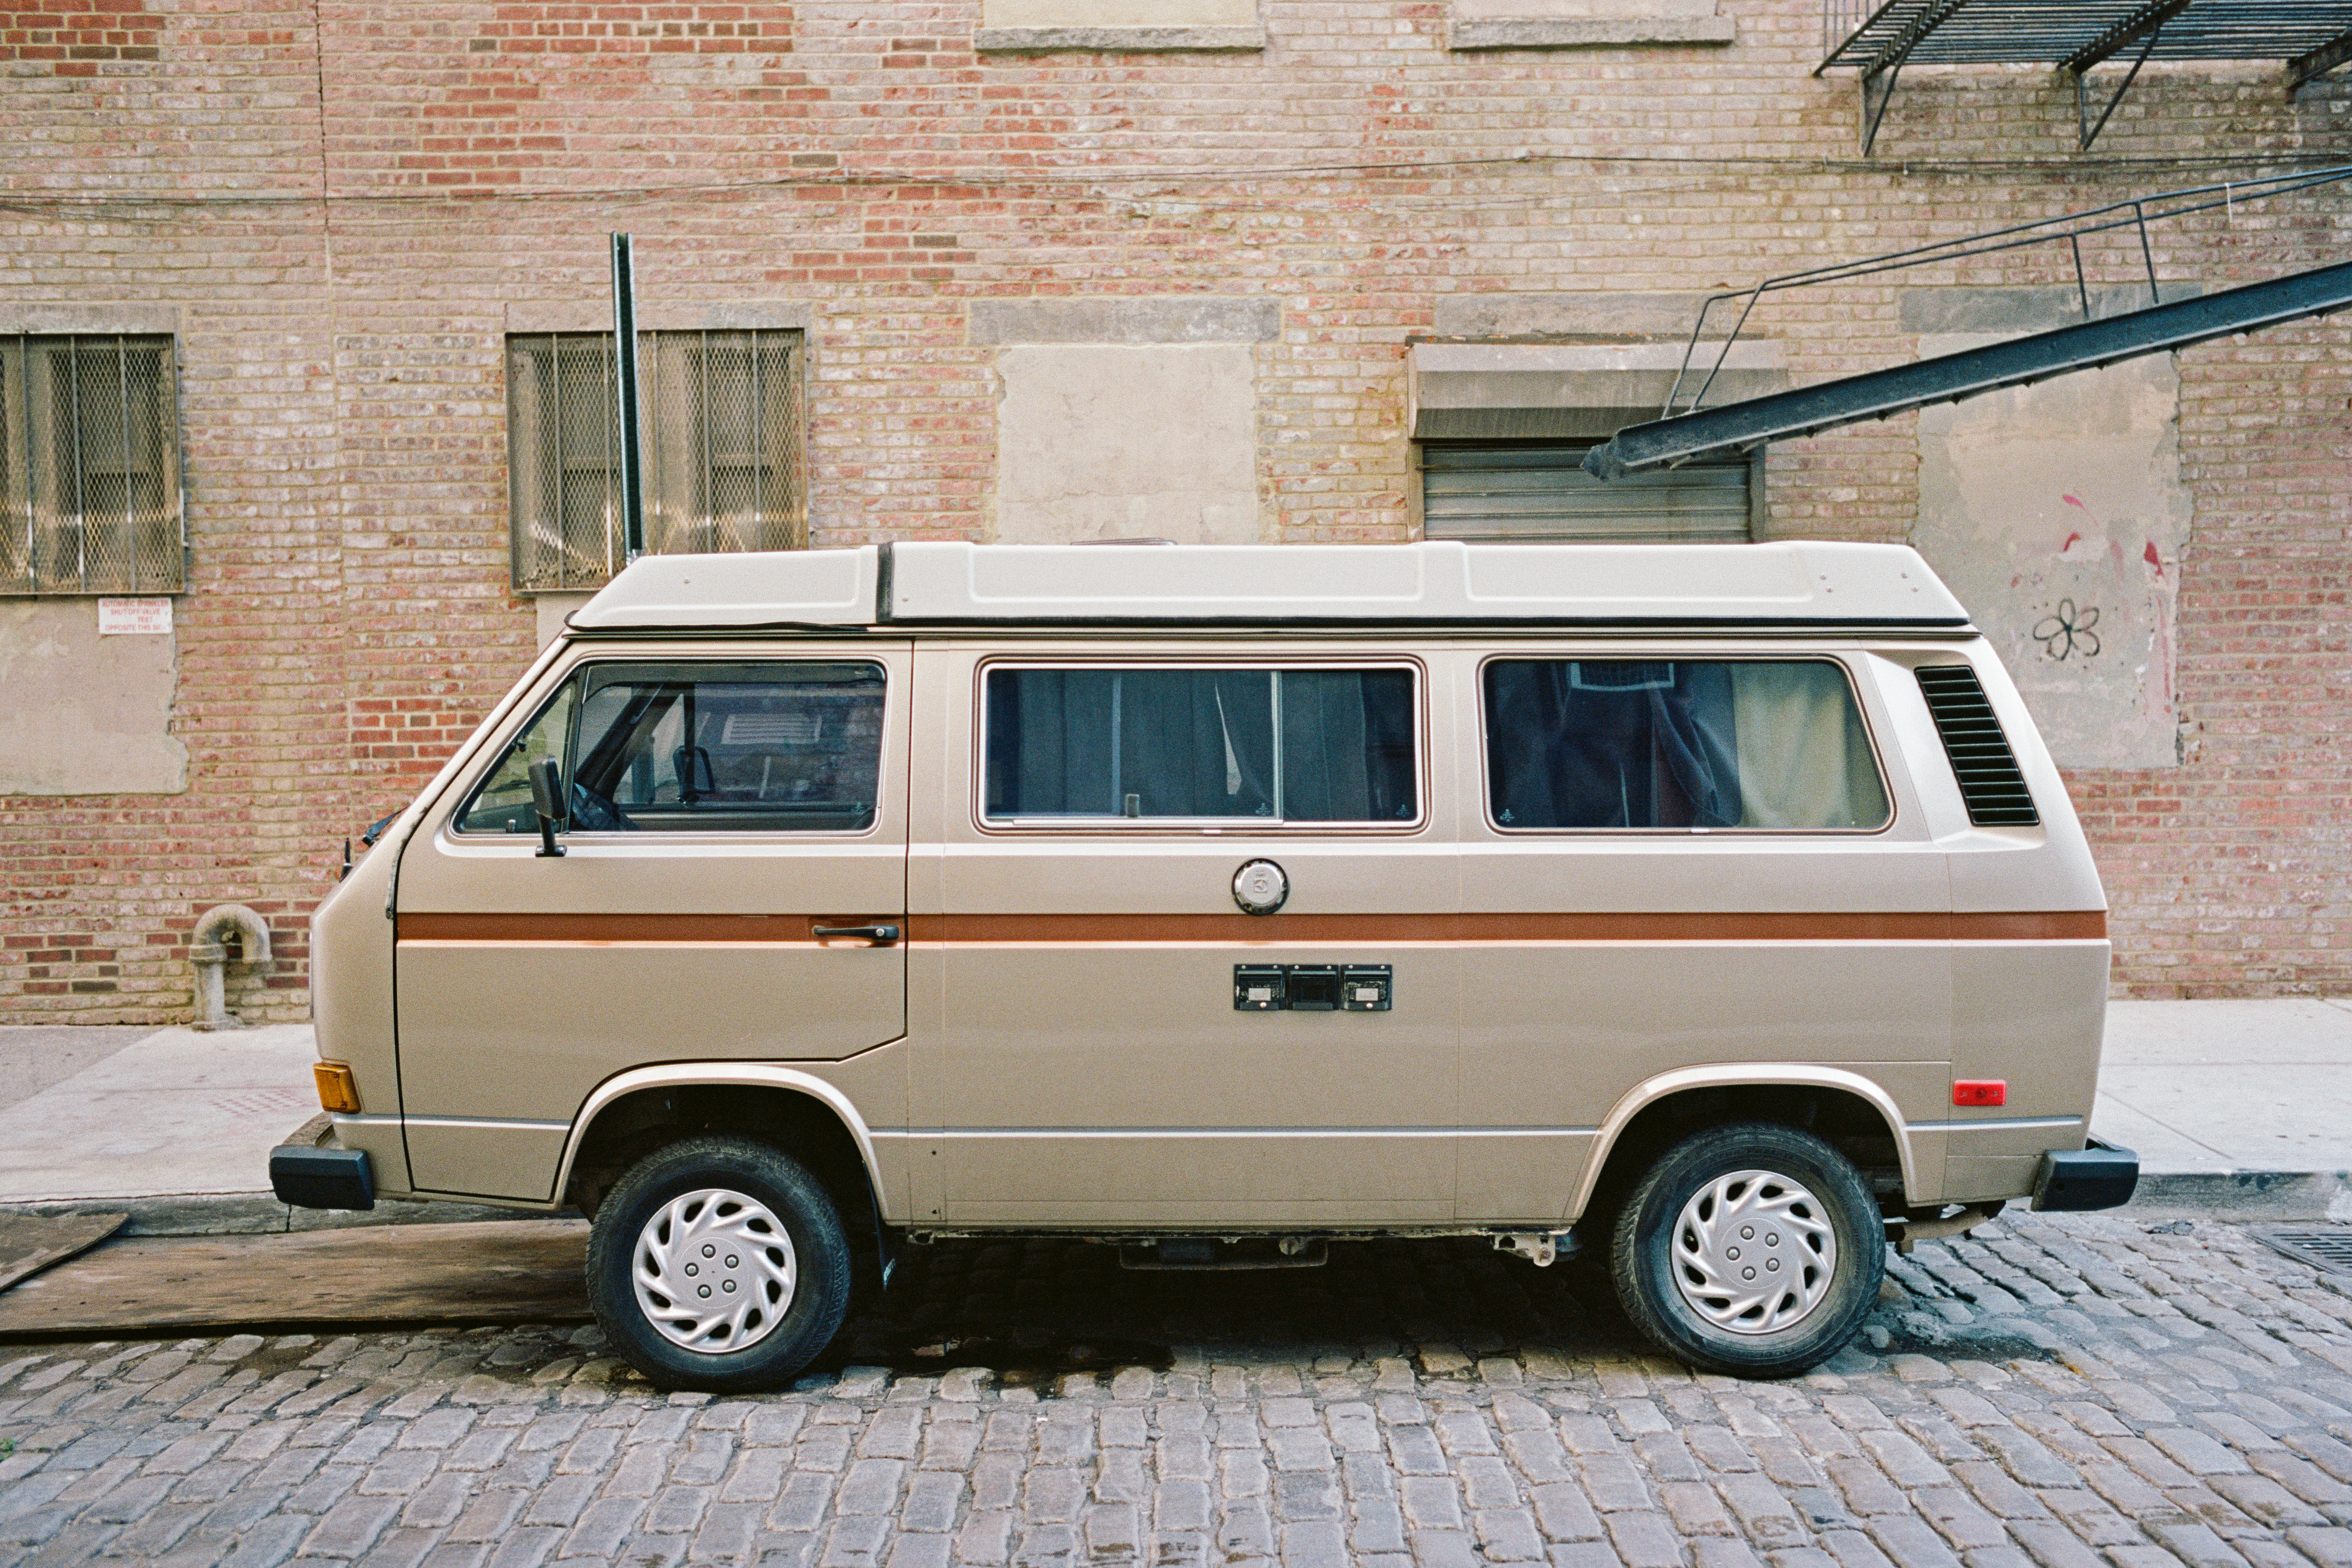
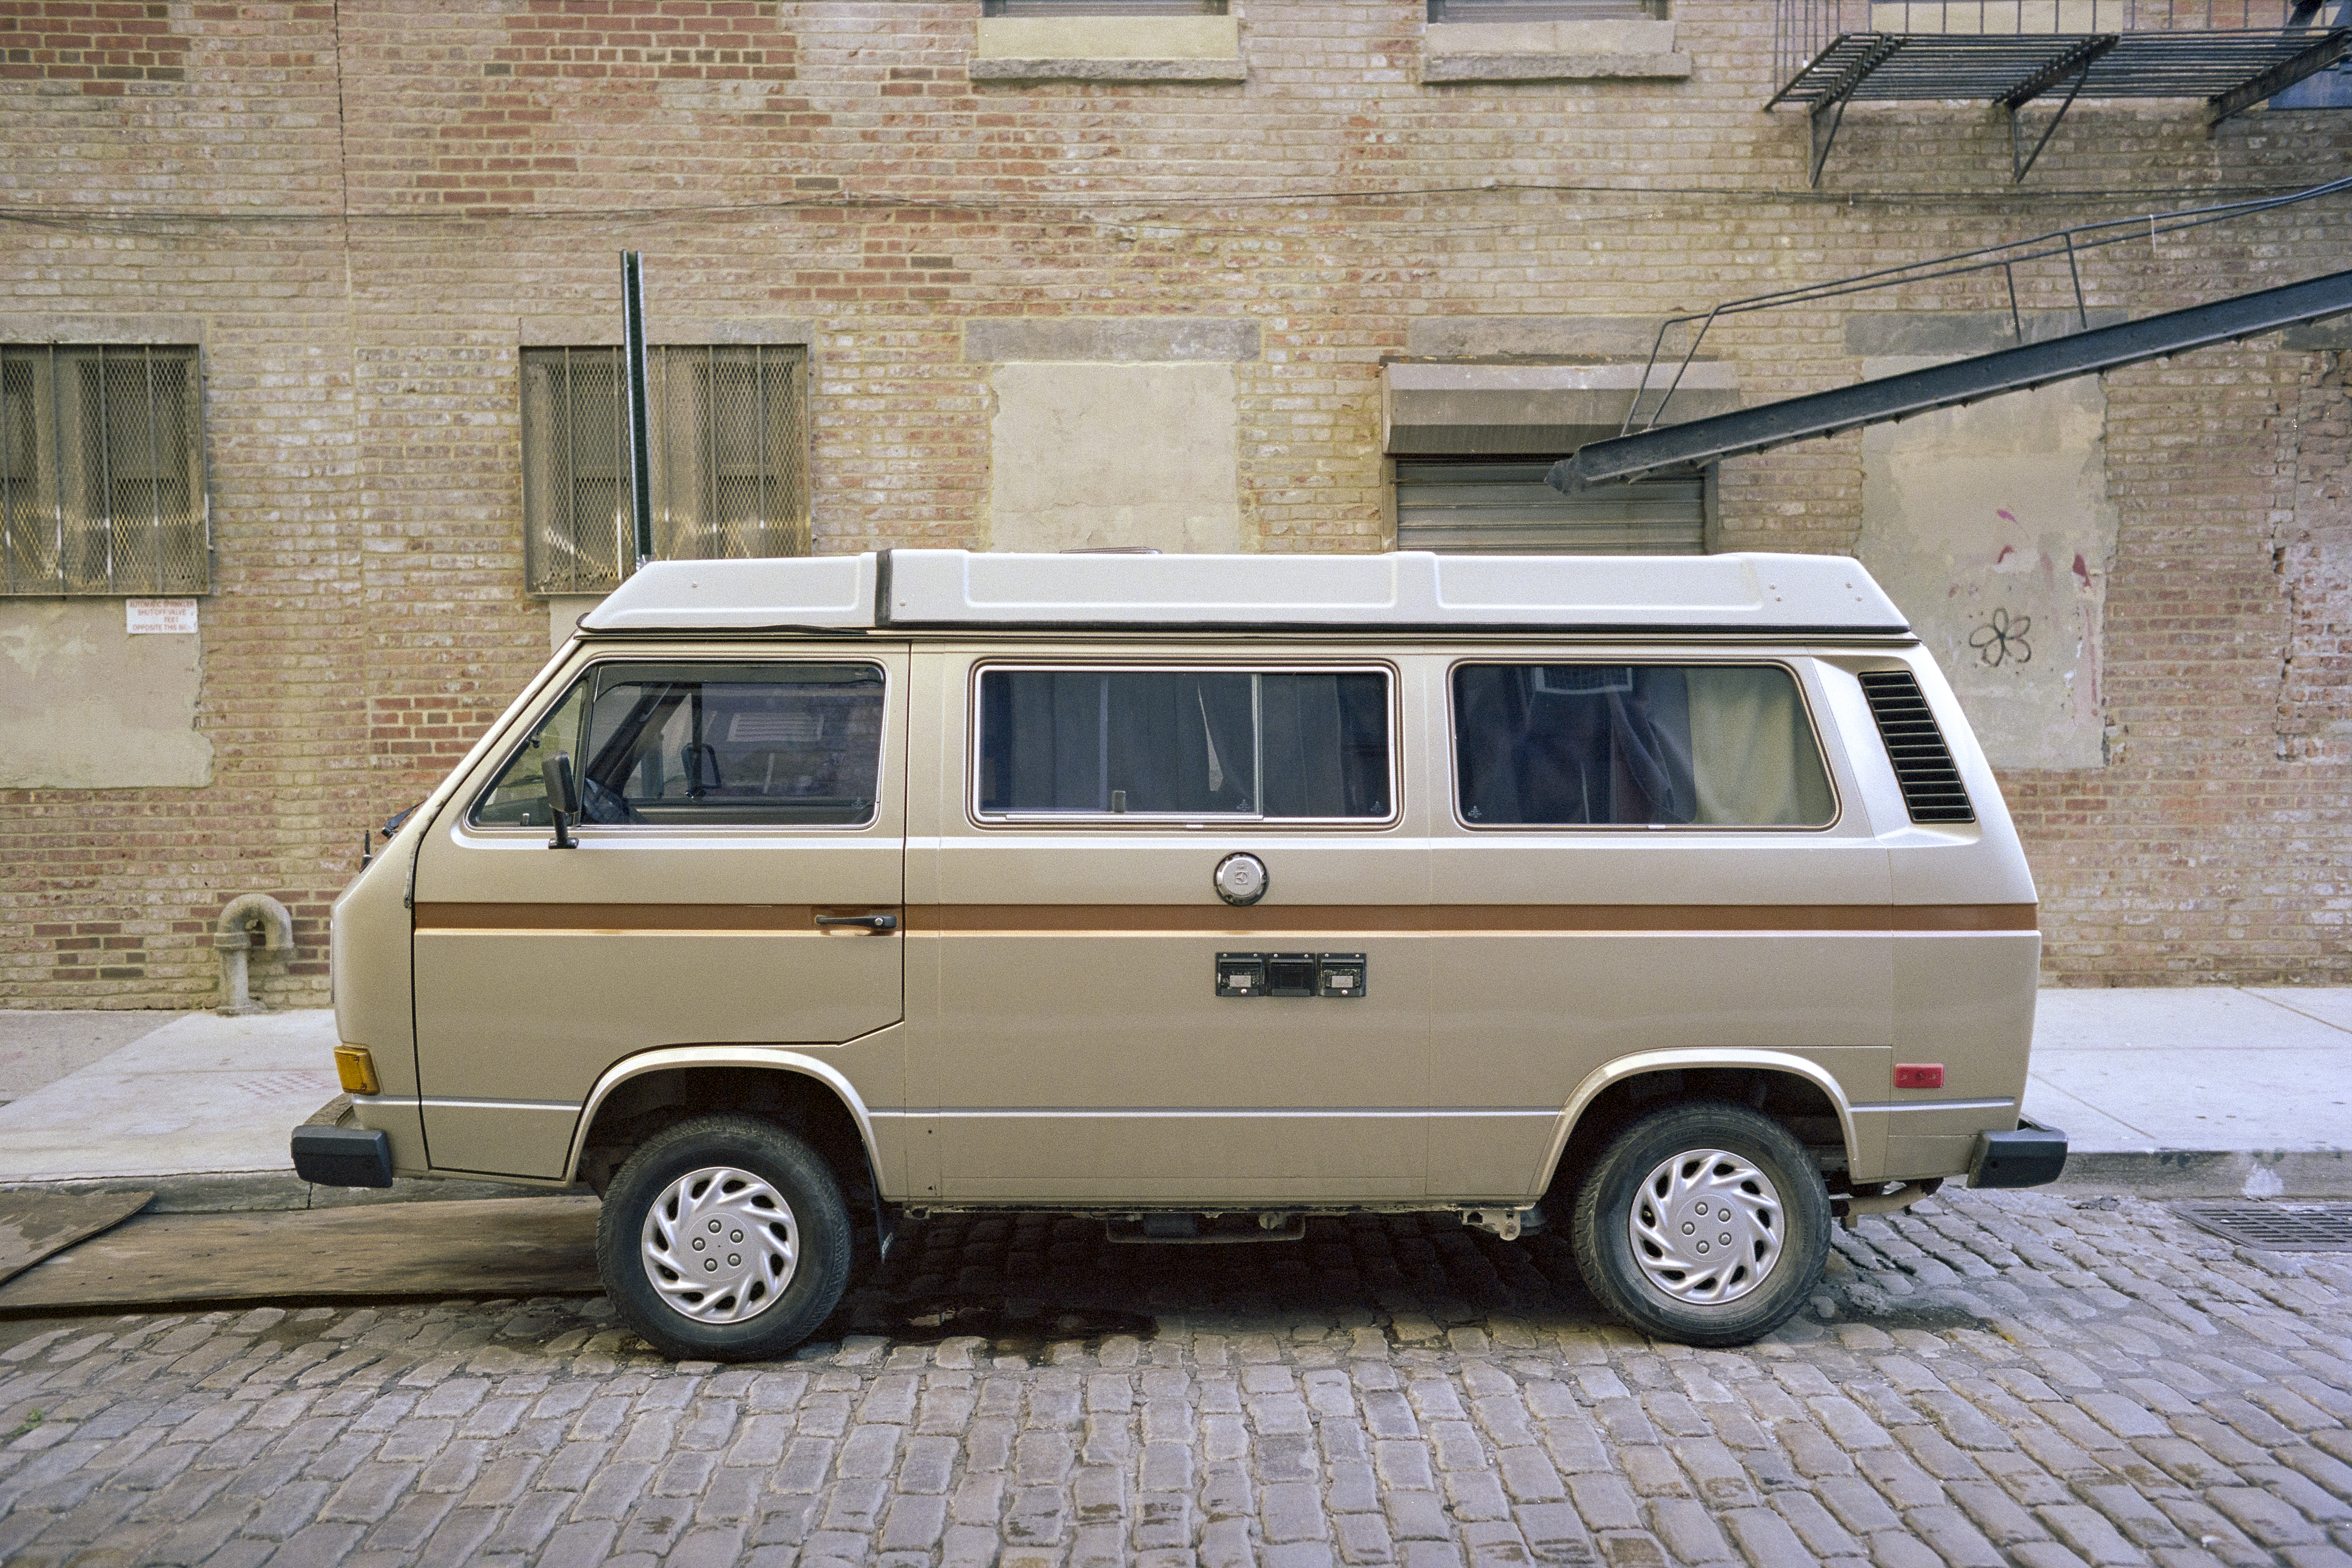
You can judge for yourself below. We’ve included side-by-side comparisons of photos capture on three iconic films: Fuji Provia 100F, Kodak Portra Pro 160, and Kodak Ektar 100. You can download the full size file of each image for a closer look.
Note: the Noritsu LS-600 images are shown exactly as scanned. The DSLR photos have been minimally processed using the above process (i.e., white balance correction).
FUJI Provia 100F
| Noritsu LS-600 Final File | Canon 5D Mark IV Final File |
 |
 |
 |
 |
| Download Full Size File | Download Full Size File |
KODAK Portra 160
| Noritsu LS-600 Final File | Canon 5D Mark IV Final File |
 |
 |
 |
 |
| Download Full Size File | Download Full Size File |
KODAK Ektar 100
| Noritsu LS-600 Final File | Canon 5D Mark IV Final File |
 |
 |
 |
 |
| Download Full Size File | Download Full Size File |
Conclusion
Overall, the Noritsu LS-600 is the clear winner. It combines high speed with exceptional quality, making it ideal for anyone with a large amount of film to scan. If you own and use this scanner, I’m sure this comes as no surprise!
However, if you don’t have a Noritsu LS-600 or are working with mounted slides, as we are, the DSLR method is a viable alternative. Using the Canon 5D Mark IV, for example, produces the same excellent quality of scan–with better dynamic range than the scanner. The only drawbacks of the DSLR method are the challenges involved in getting the setup right and the complexity of the process.
We think the DSLR method could be dramatically improved simply by designing an integrated stand that includes a built in light table, film insertion system, and lens/camera stand. Our team is working on designing just such a system and, if there’s enough interest, we would launch a project on Kickstarter. Let us know in the comments if you’re interested!
Here are some of the features we’re thinking of…let us know if you have other ideas!
- Insertion trays for scanning mounted slides and film (35mm and 120)
- Simple method to keep the film and mounted slide straight and flat
- Ability to scan multiple mounted slides or short film strip simultaneously
- Integrated light source
- Integrated DSLR mount
- Protection against external light reflection between the film and the camera lens
Noritsu LS-600
|
|
DSLR Method: Canon 5D Mark IV
|
|
All photos in this article are from Damien Derouene.
These photographs may not be reproduced, distributed, modified or re-posted to other websites without the express written permission of the author.
5 Comments. Leave new
Hello!
Thank you for your article! It’s just in time for me. I also thinking of buying a Noritsu, however, I already own a 36-megapixel Pentax K-1 and an excellent 50mm AF macro lens, as well as a bellows. Furthermore, my camera also has a PixelShift mode which produces super-detailed images.
The only concern that I have about my digital setup is an ability to capture the authentic look of the film, as you say. In my opinion, your test increases my concern. Usually, digital camera “scans” look too “digital”.
One part of this is the color. Adobe’s ACR / Lightroom has lots of color profiles for many cameras. Each profile delivers color differently and, to be honest, not very good (a proprietary software produces better color rendition). Which one of them should we choose?
Another part is all the rest: the dynamic range / grain, etc. You wrote that the Canon “scans” have a better dynamic range. I think it’s vice versa. Look at the highlights, they look blown out. As for the grain, you mentioned it before. Another loss may be a less pronounced 3D-look. Somehow it happens ordinary scans have a distinctive 3D-pop. Digital camera “scans” very often look flat in comparison.
Anyway, your examples of digital camera “scans” look surprisingly good. If you could deal with the problems I just wrote and share with us your solution, it would be great! In this case I would stop looking towards buying a Noritsu scanner 🙂
Hello!
Thank you for your article! It’s just in time for me. I also thinking of buying a Noritsu, however, I already own a 36-megapixel Pentax K-1 and an excellent 50mm AF macro lens, as well as a bellows. Furthermore, my camera also has a PixelShift mode which produces super-detailed images.
The only concern that I have about my digital setup is an ability to capture the authentic look of the film, as you say. In my opinion, your test increases my concern. Usually, digital camera “scans” look too “digital”.
One part of this is the color. Adobe’s ACR / Lightroom has lots of color profiles for many cameras. Each profile delivers color differently and, to be honest, not very good (a proprietary software produces better color rendition). Which one of them should we choose?
Another part is all the rest: the dynamic range / grain, etc. You wrote that the Canon “scans” have a better dynamic range. I think it’s vice versa. Look at the highlights, they look blown out. As for the grain, you mentioned it before. Another loss may be a less pronounced 3D-look. Somehow it happens ordinary scans have a distinctive 3D-pop. Digital camera “scans” very often look flat in comparison.
Anyway, your examples of digital camera “scans” look surprisingly good. If you could deal with the problems I just wrote and share with us your solution, it would be great! In this case, I would stop looking towards buying a Noritsu scanner 🙂
I also forgot to mention the light source that is placed behind a film. It looks like it has a huge impact on the final result.
Thoroughly written article. Thanks for providing this interesting article and I would like to say big thanks to you and I wanted to see more blogs on it. Keep doing good work.https://www.lifetimeheritagefilms.com/
Fantastic comparison – thank you! Two questions though: What kind of iso, shutter speed and aperture did you use on the 5DIV and did you progress the design of the integrated stand? Especially that would be really interesting to me!